When you think of an iconic Tokyo photograph, what comes to mind? The Shibuya Scramble Crossing? Sensō-ji Temple?
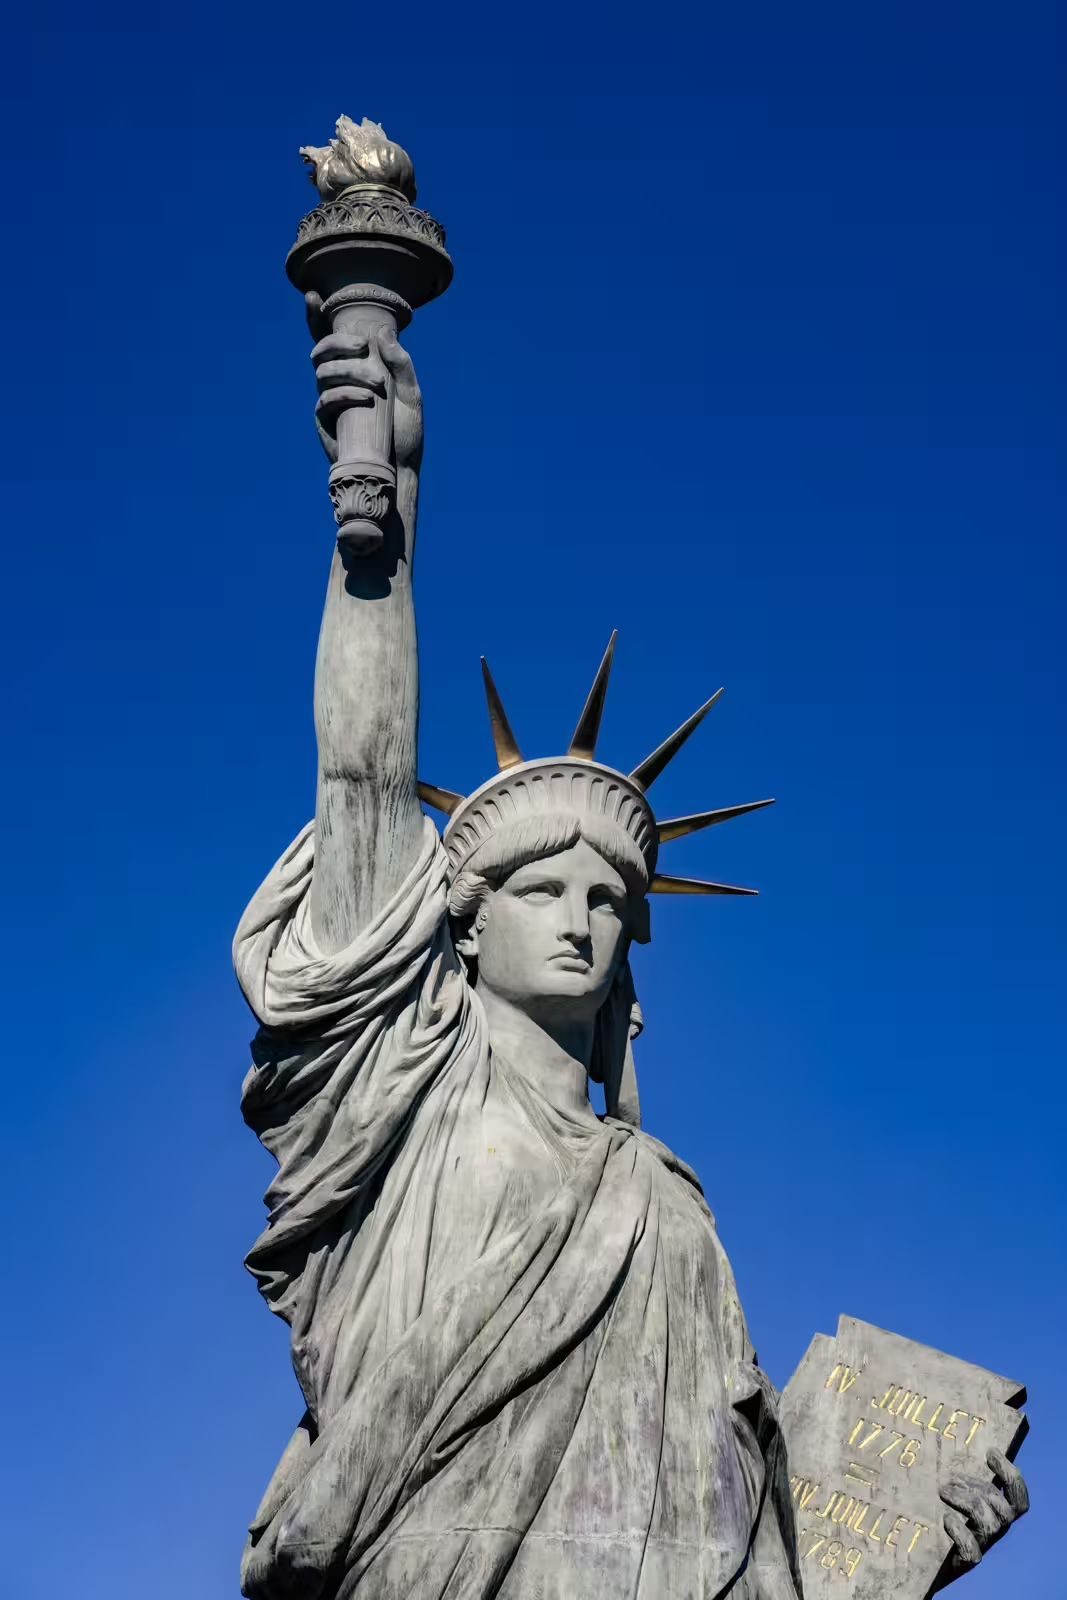
But one viewpoint offers a stunning combination of the modern city: the futuristic Rainbow Bridge, the classic Tokyo Tower, and, surprisingly, the Statue of Liberty. Yes, Tokyo has its own Statue of Liberty in Odaiba. This replica is a unique photo opportunity.
That’s right, New York isn’t the only city with a Lady Liberty, and this version is a photographer’s dream.
She has her own story, surroundings, and stunning views. It has something for sunset, evening, or broad daylight visits. Let’s explore it!
How to photograph the Statue of Liberty
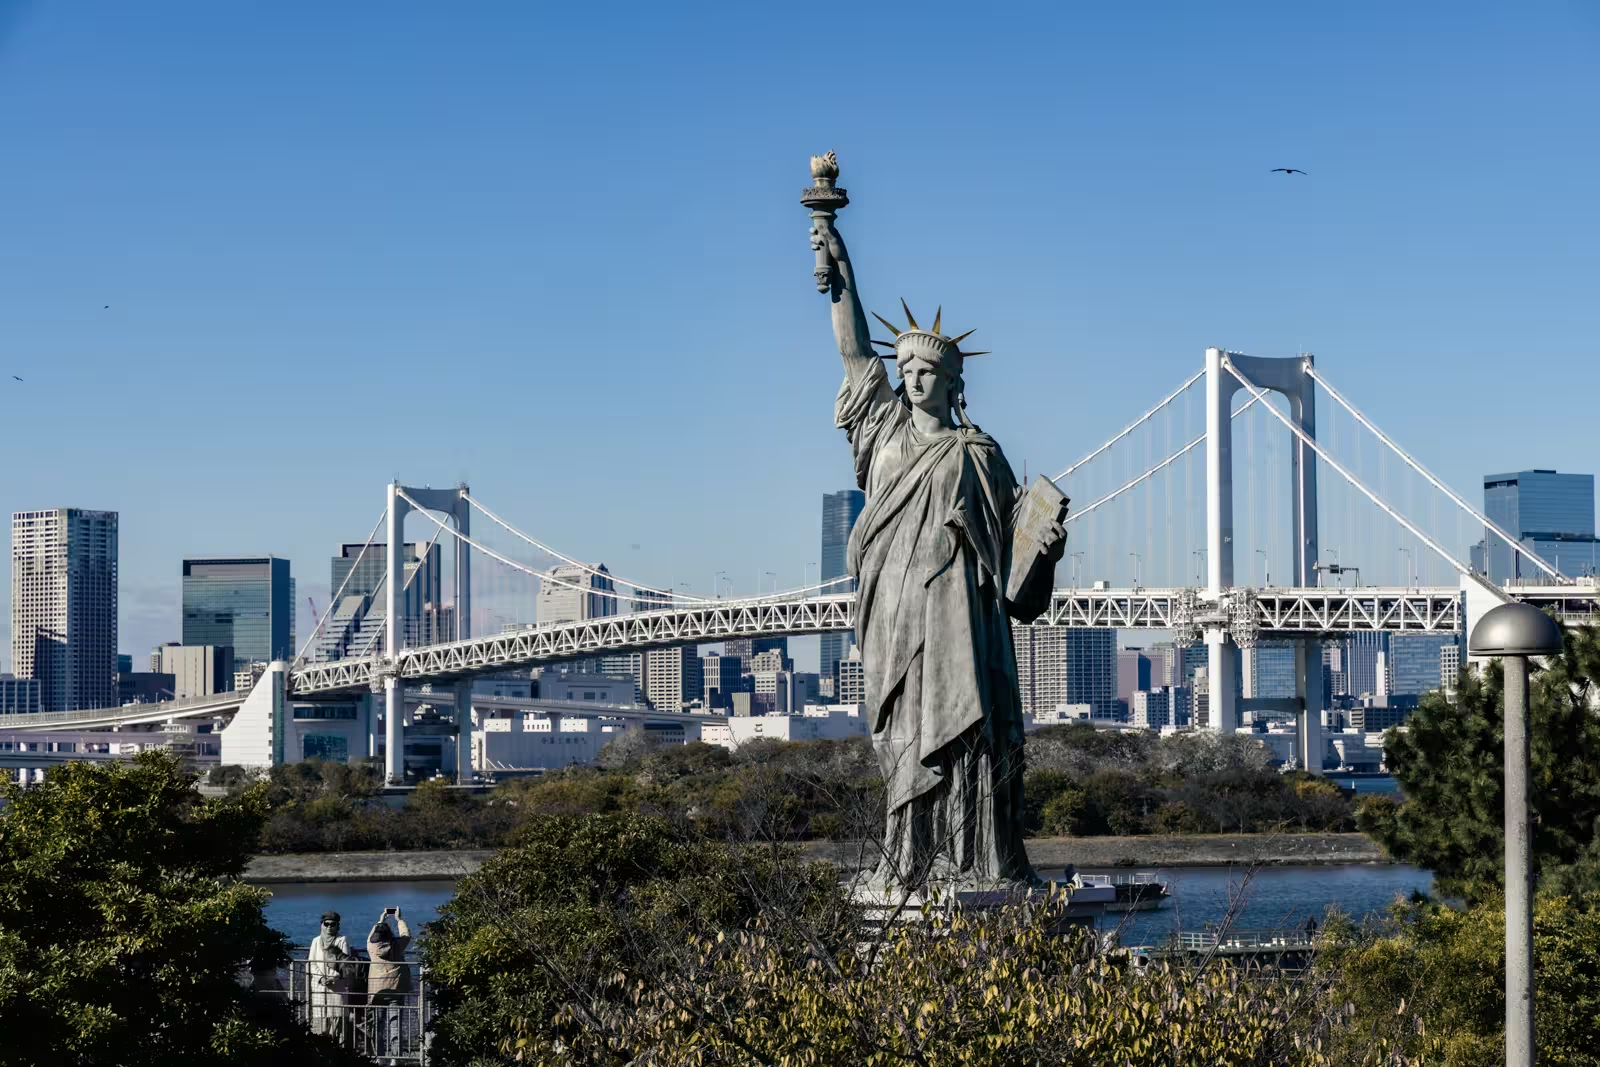
- The magic of this location is the layering of iconic landmarks. Your primary composition will likely feature the Statue of Liberty in the foreground, with Rainbow Bridge and the distant Tokyo Tower creating a backdrop.
- This scene comes alive at sunset as the sky erupts in color. As evening descends, the city skyline begins to sparkle, offering a different but equally dramatic photographic opportunity.
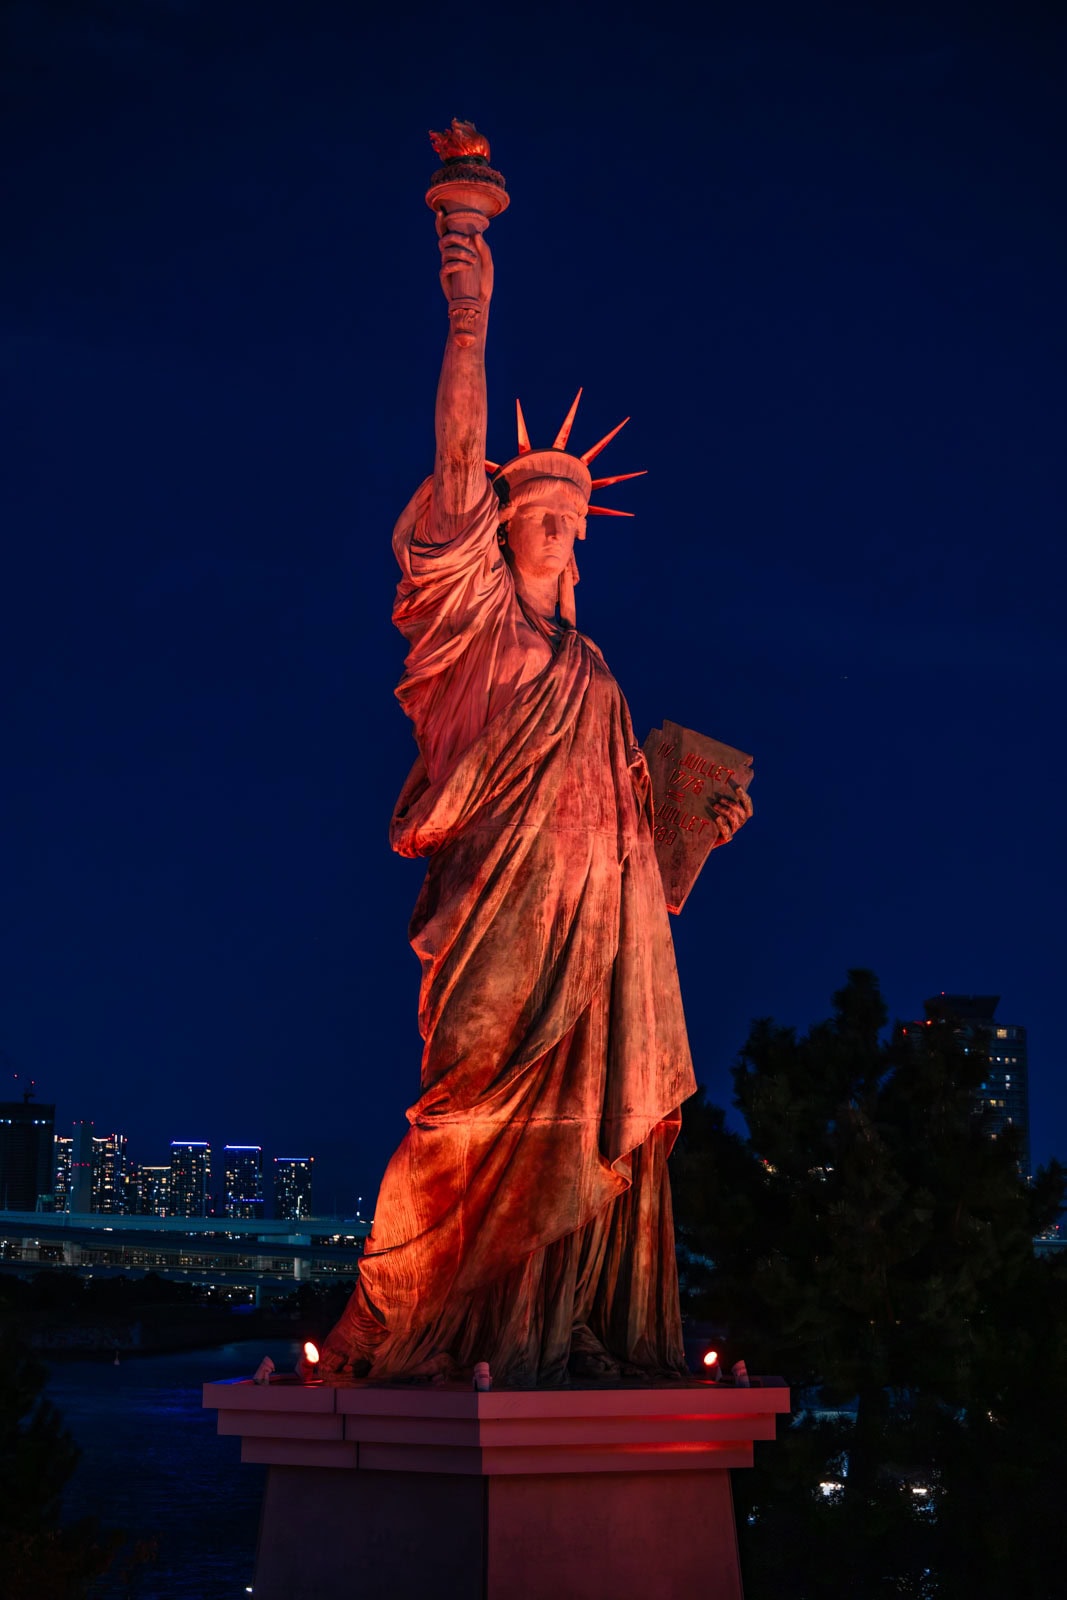
- At night, the statue itself is illuminated, with its lights sometimes cycling through patriotic red, white, and blue, adding a dynamic element to your long-exposure shots.
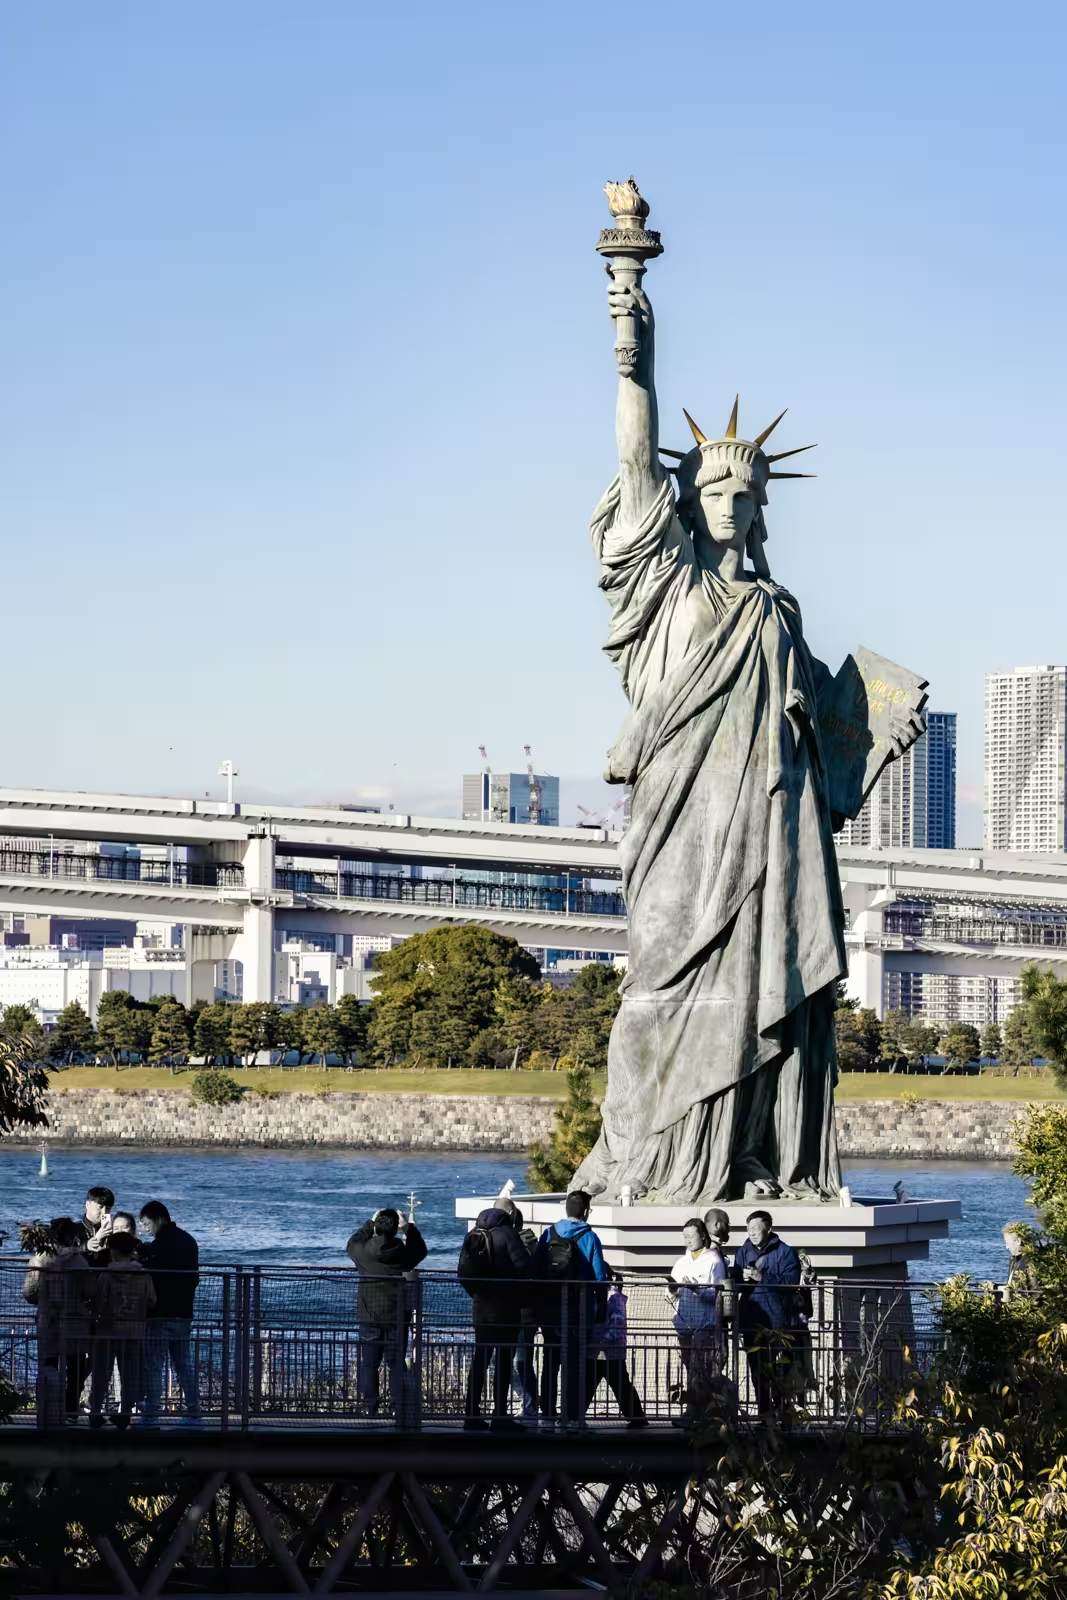
- At only 12.25 meters high, the bridge and skyline behind, dwarf the statue. If you shoot from the lower walkway, you’ll look up, which makes it difficult to frame all three elements. To capture everything, you must find a spot with more distance (look below) or get creative with a wide-angle lens.
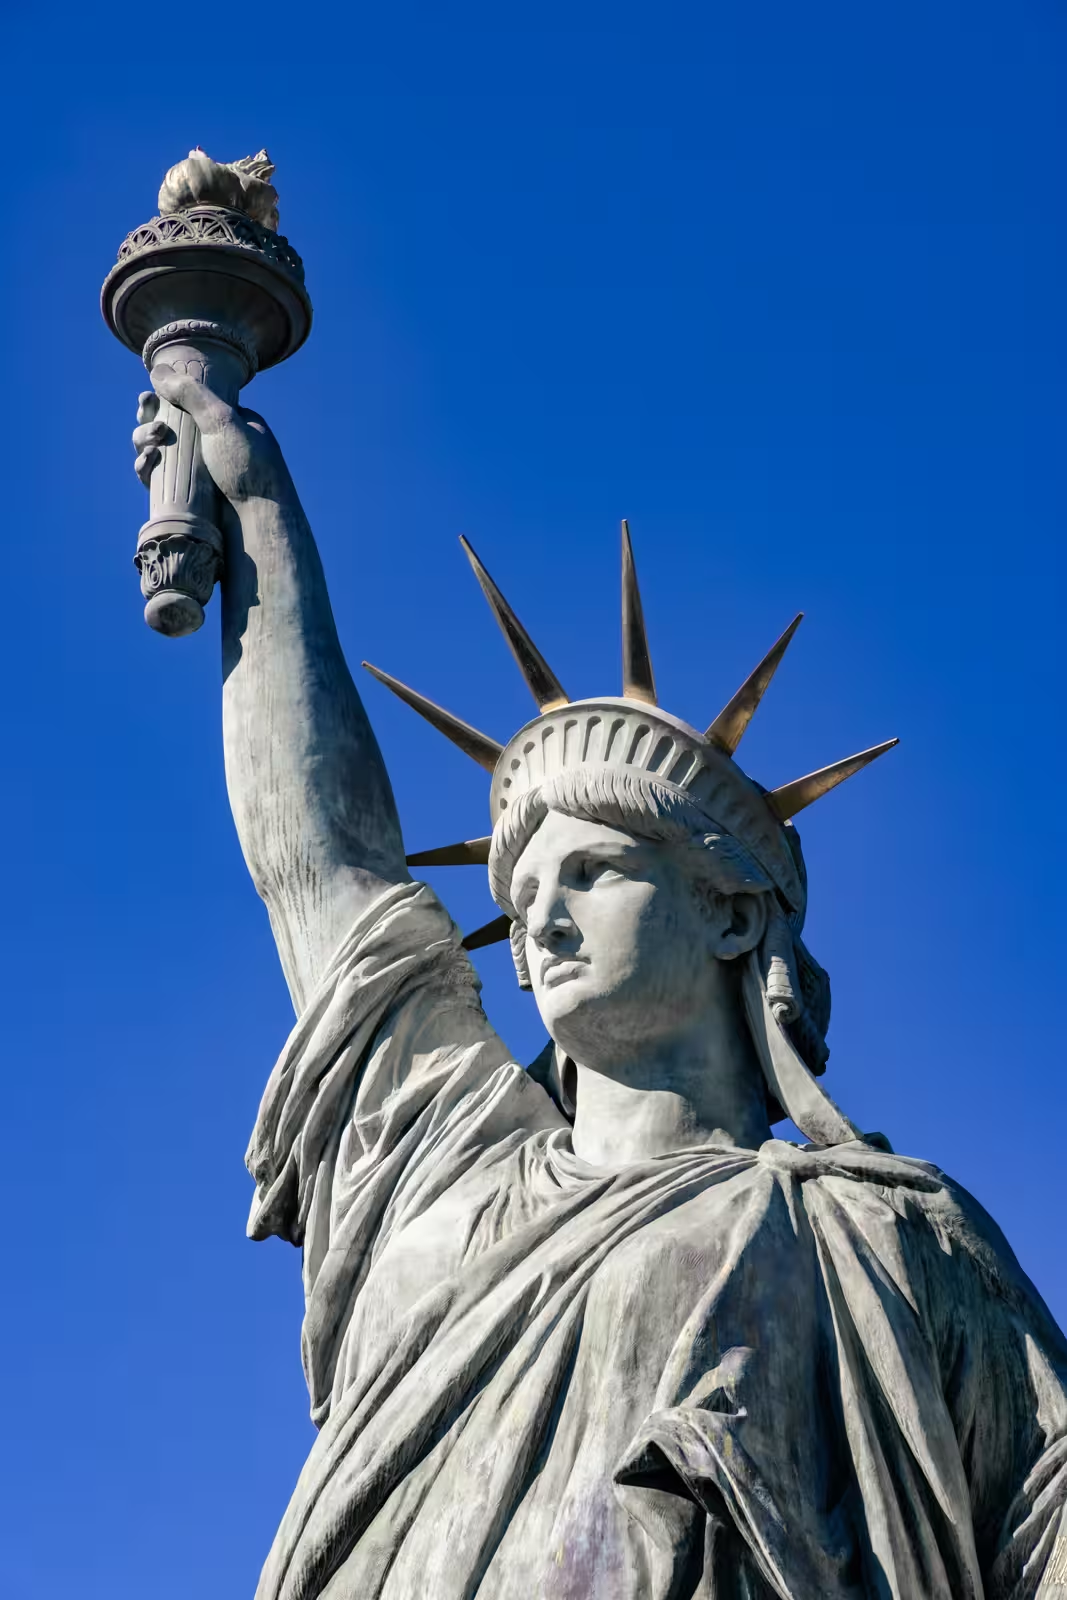
Options for the statue & bridge photo
One idea is to shoot from Aqua City Odaiba’s observation deck. This vantage point perfectly aligns the Statue of Liberty with the Rainbow Bridge and Tokyo Tower.
You can frame all three landmarks in your composition. From here, you can also incorporate the people strolling along the boardwalk below to add a sense of scale and life to your shot.
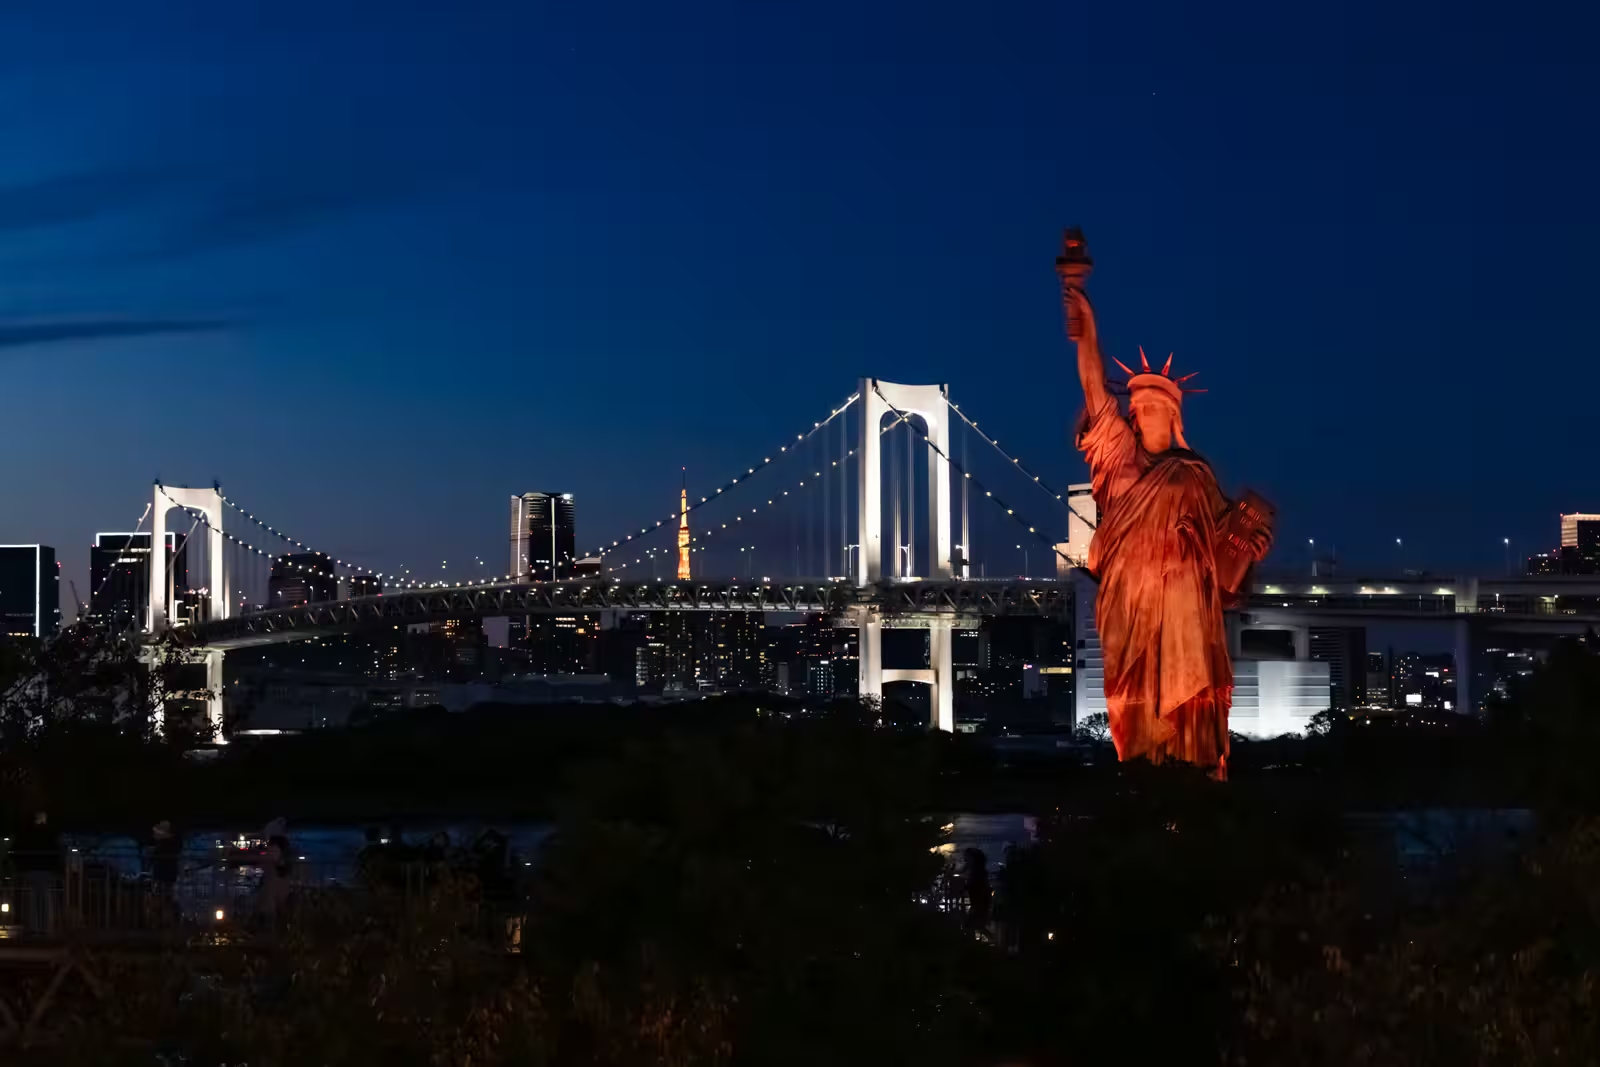
Look for the large ‘LOVE’ sign nearby on the second floor (go up the escalators). You can include it in your composition. This spot is magical at night, so consider planning an evening visit, and don’t forget to bring a tripod for long-exposure shots!
Sun position
Depending on the type of picture you want, the sun’s position can be important. It is close to or over Rainbow Bridge during the warmer months. In autumn and winter, it will be in the direction of the ocean, i.e., to the left of the bridge.
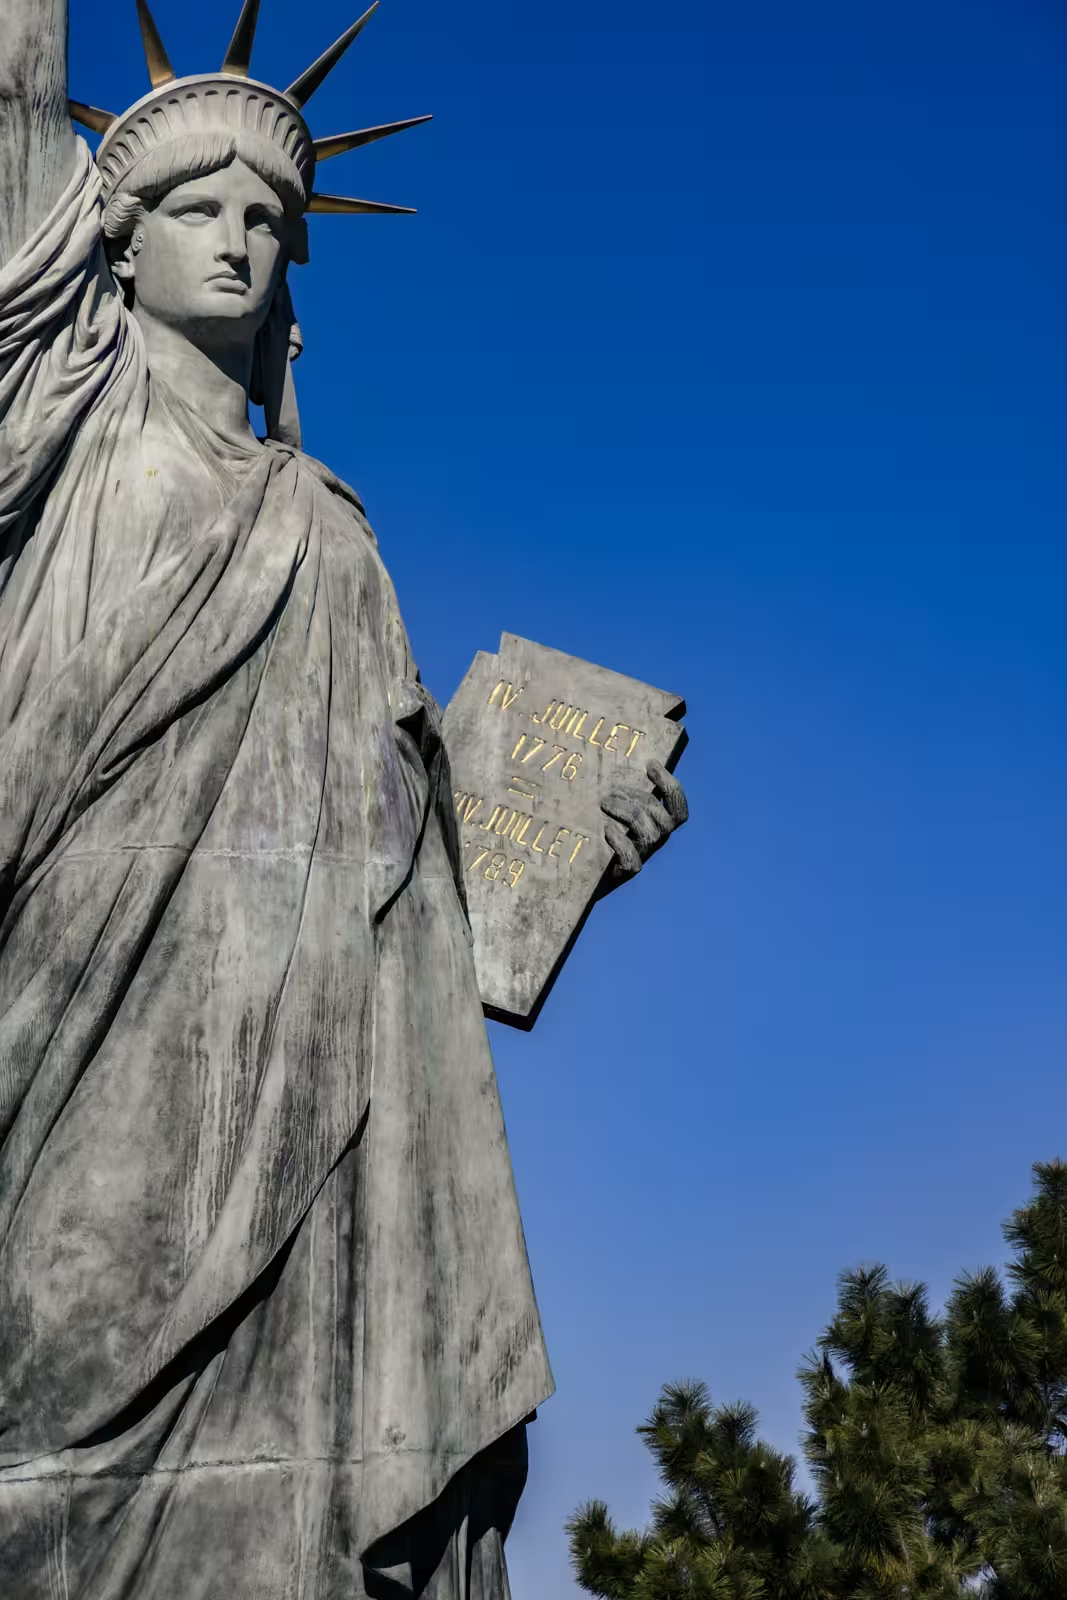
Photo spots near the statue
- Gundam RX-0 Unicorn Statue (a massive battlesuit from the animation)
- Hachitama Observatory (fantastic views of Rainbow Bridge, Tokyo Tower and the city skyline)
- Rainbow Bridge (you can walk across it too)
- Telecom Center (a building with an observatory)
- Tokyo Big Sight (a massive conference/exhibit hall)
Why does Tokyo have a Statue of Liberty?
The story begins with a celebration of Franco-Japanese relations. France donated it for “French Year in Japan” in 1998. It stayed until January 1999, then it was taken away.
However, the statue was so popular with the public that a permanent replica was commissioned and installed in the same spot in 2000, where it has remained ever since.
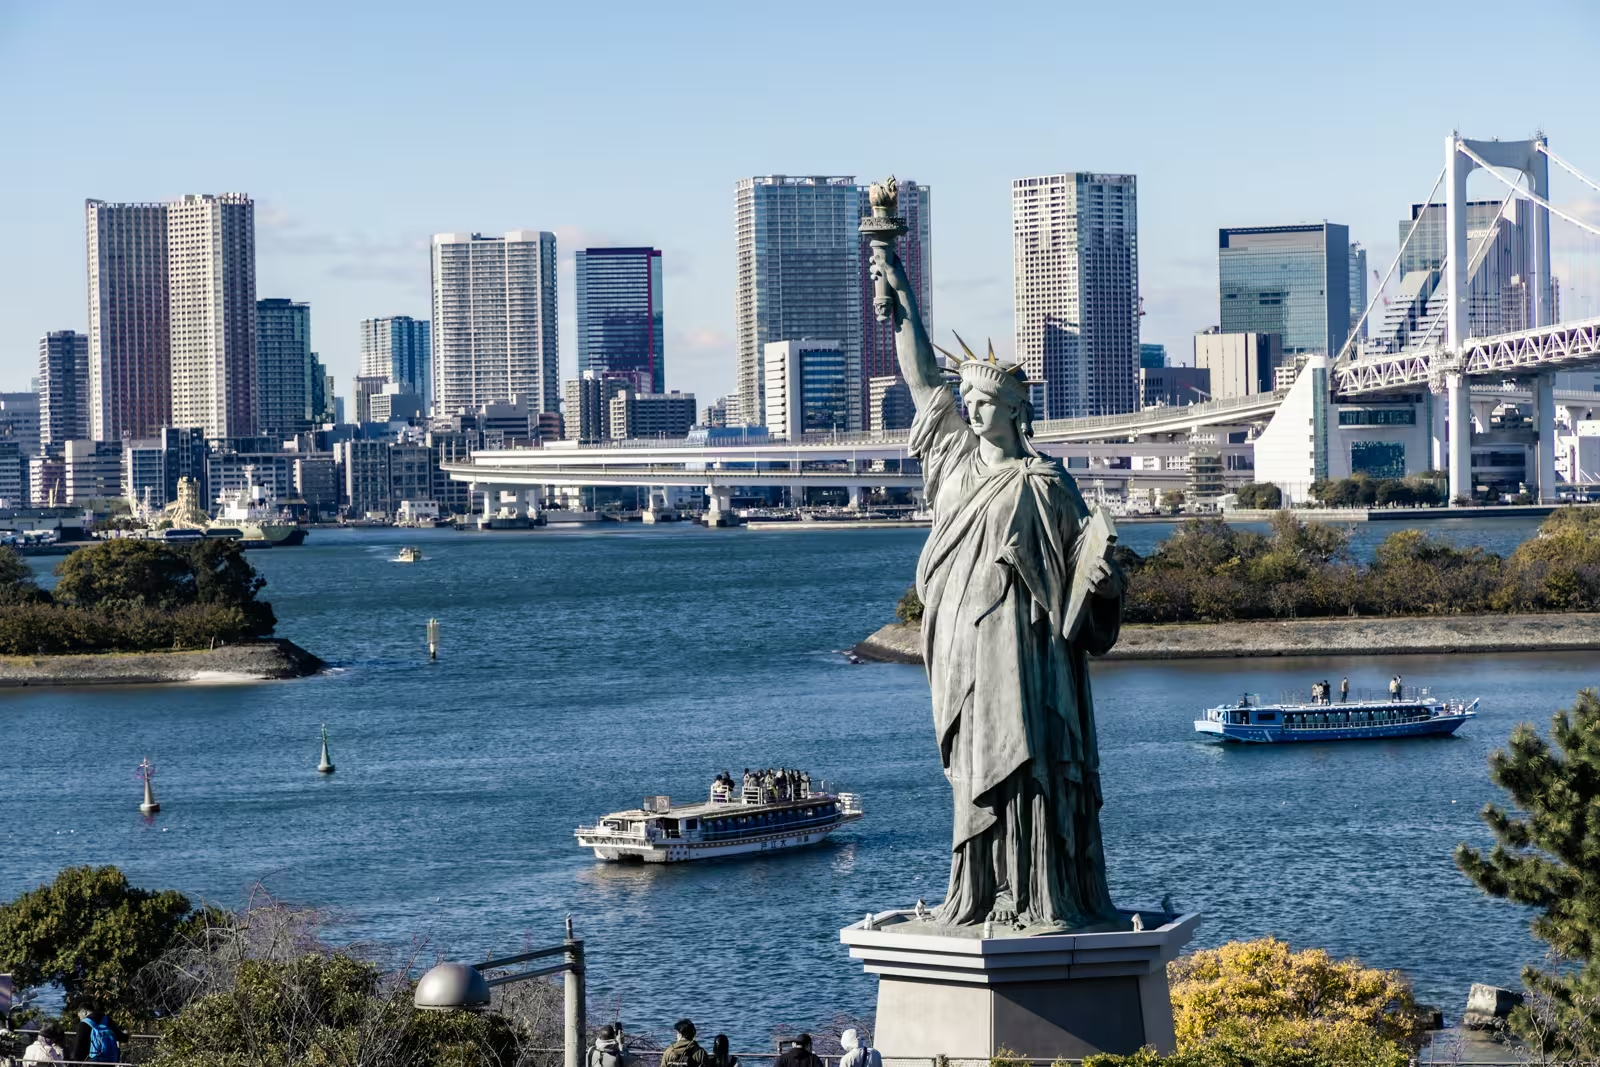
Tokyo vs. New York: What are the differences?
- It stands on the beach on a platform
- It doesn’t face the water.
- It is 1/7th the size of the New York statue.
Statue of Liberty FAQ
Is Odaiba’s Statue of Liberty worth it?
Odaiba’s Statue of Liberty is far more than a copy of the New York version. It stands on its own as a unique, powerful attraction. With the city skyline, Rainbow Bridge, and Tokyo Tower all aligned, it is one of the most dynamic and iconic compositions in the entire city.
The Statue of Liberty and Rainbow Bridge are a photographer’s dream destination. For more information consult the Minato City Statue of Liberty visitor guide.
My photography gear for this shoot
- Camera body: Canon EOS R5
- Lens: Canon RF24-105mm F4 L IS USM