Rainbow Bridge Photo Guide
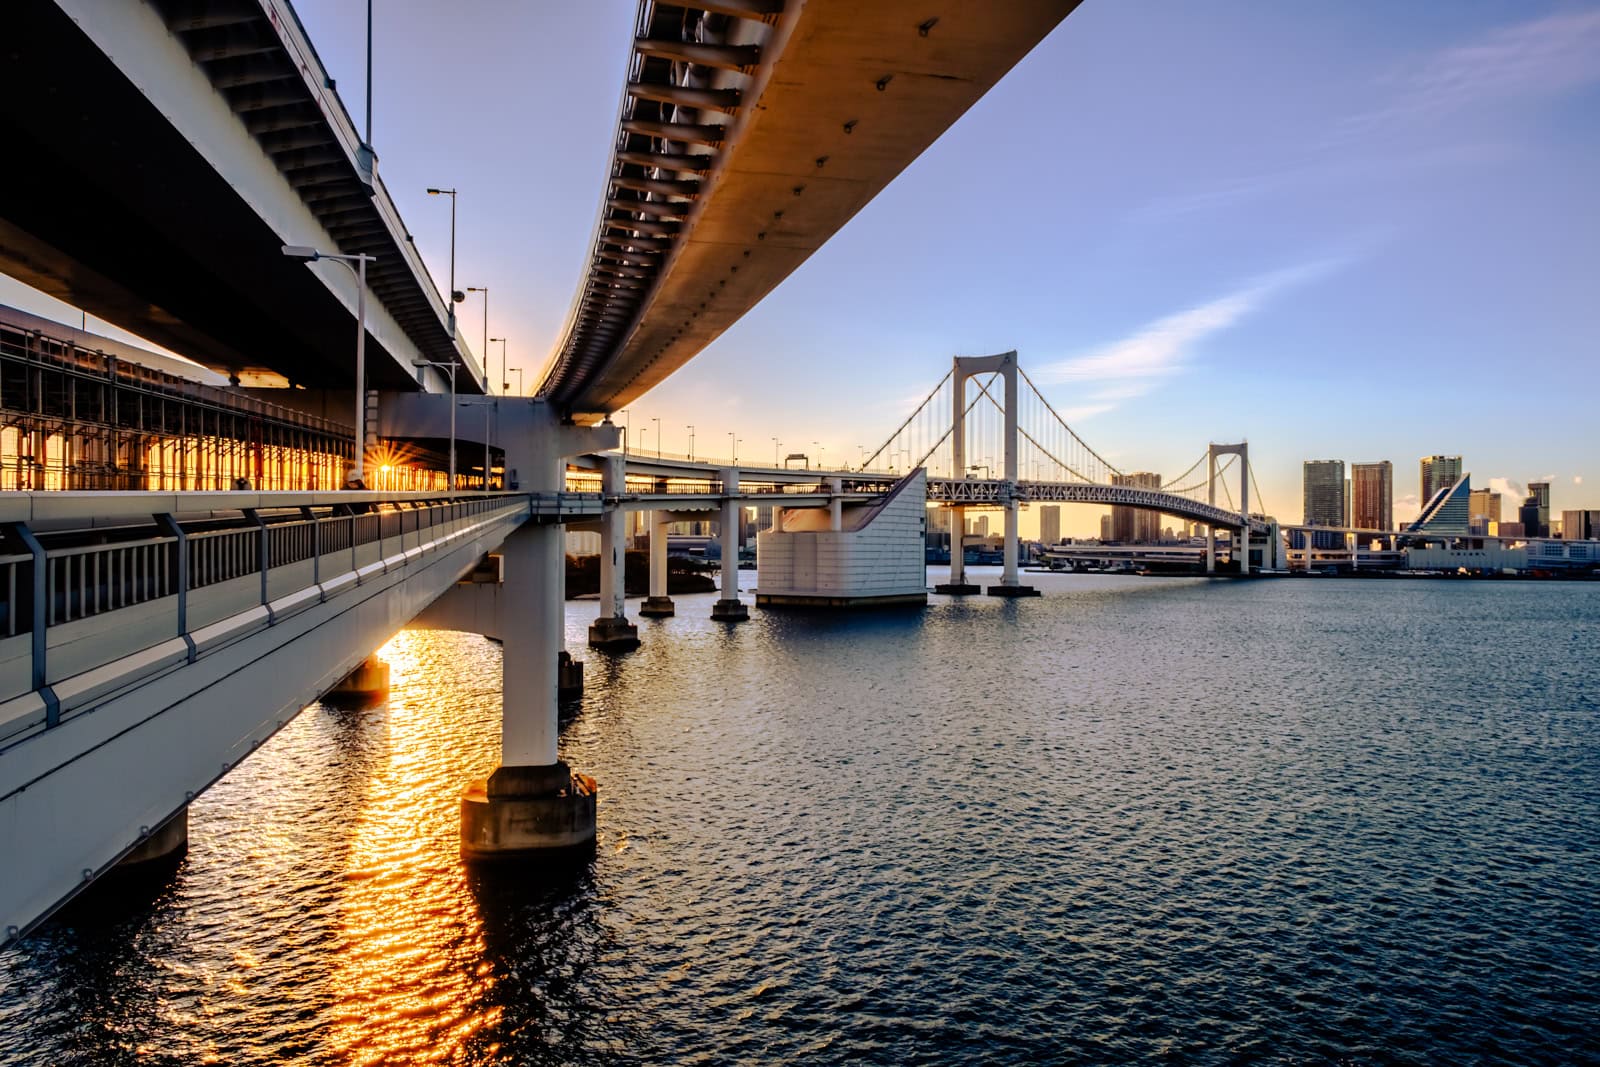
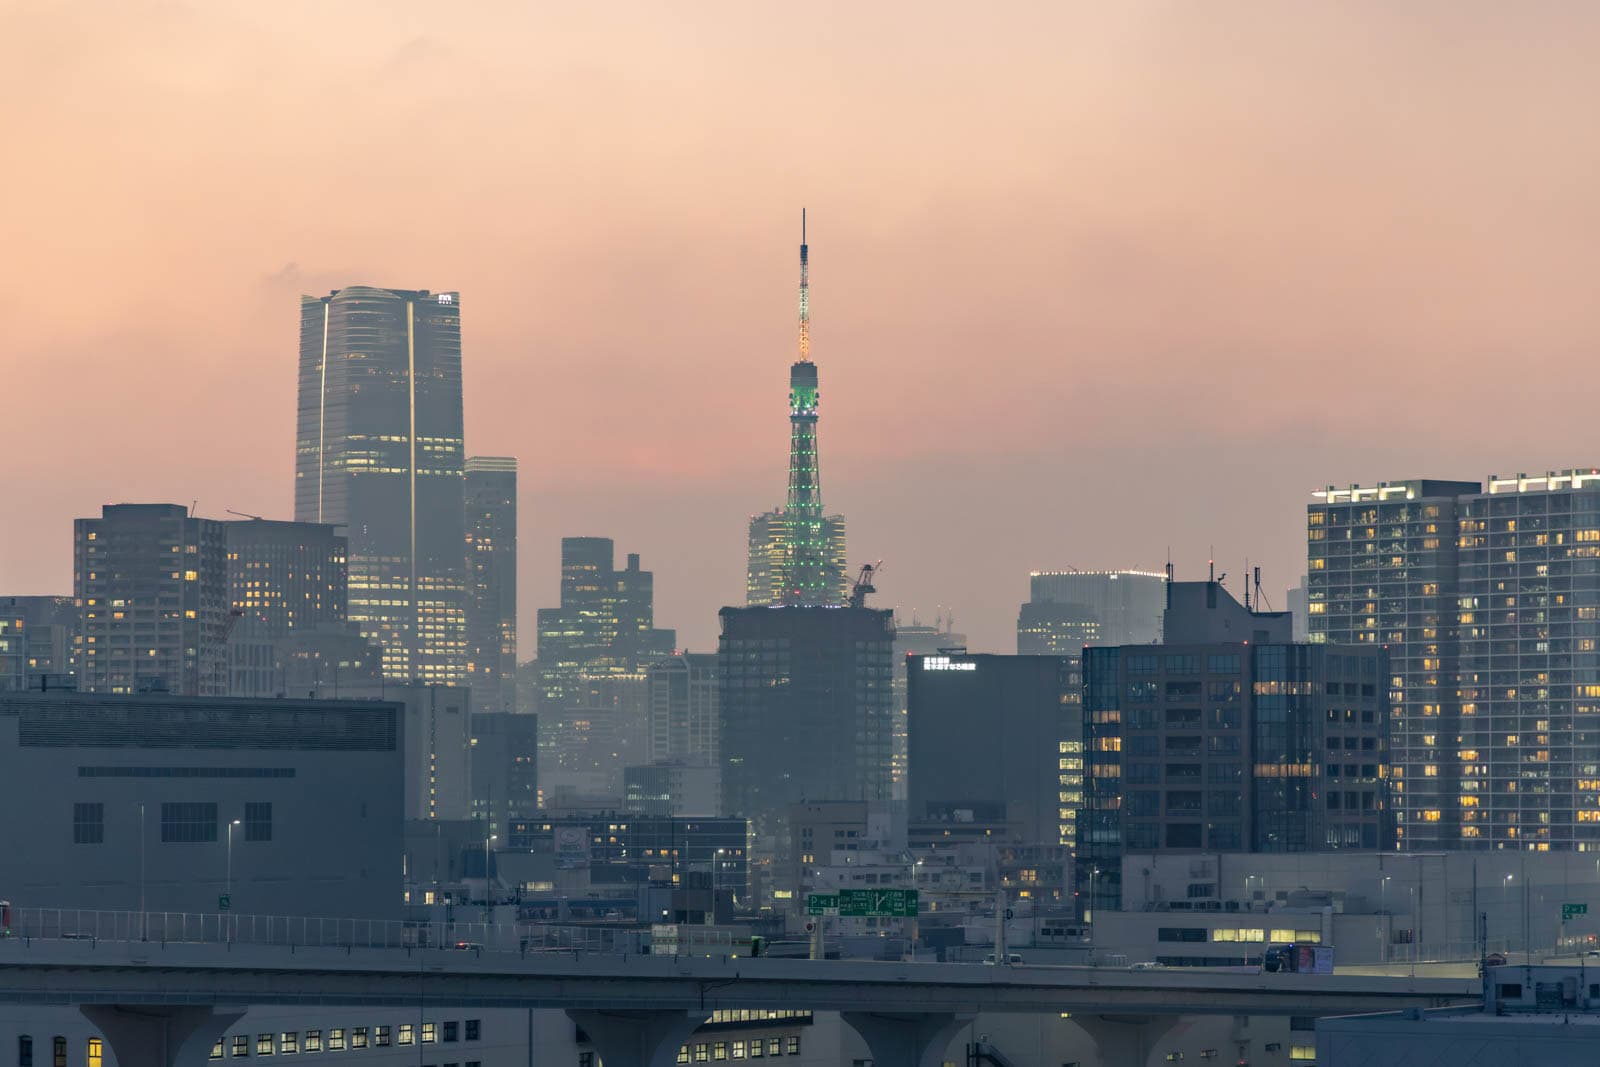
Walking across Rainbow Bridge is one of my favorite things to do in Tokyo. This two-deck marvel, connecting the Shibaura and Odaiba districts, offers panoramic views of Tokyo Tower and the city skyline that photographers will appreciate.
I rarely walk the south side as it is far less photographically compelling. While it provides a direct view of the Odaiba beachfront and the iconic Fuji Television building with its Hachitama Spherical Observation Room, the scenery is dominated by Tokyo’s main port area.
Rainbow Bridge’s walkways
North side: Tokyo Tower & skyline
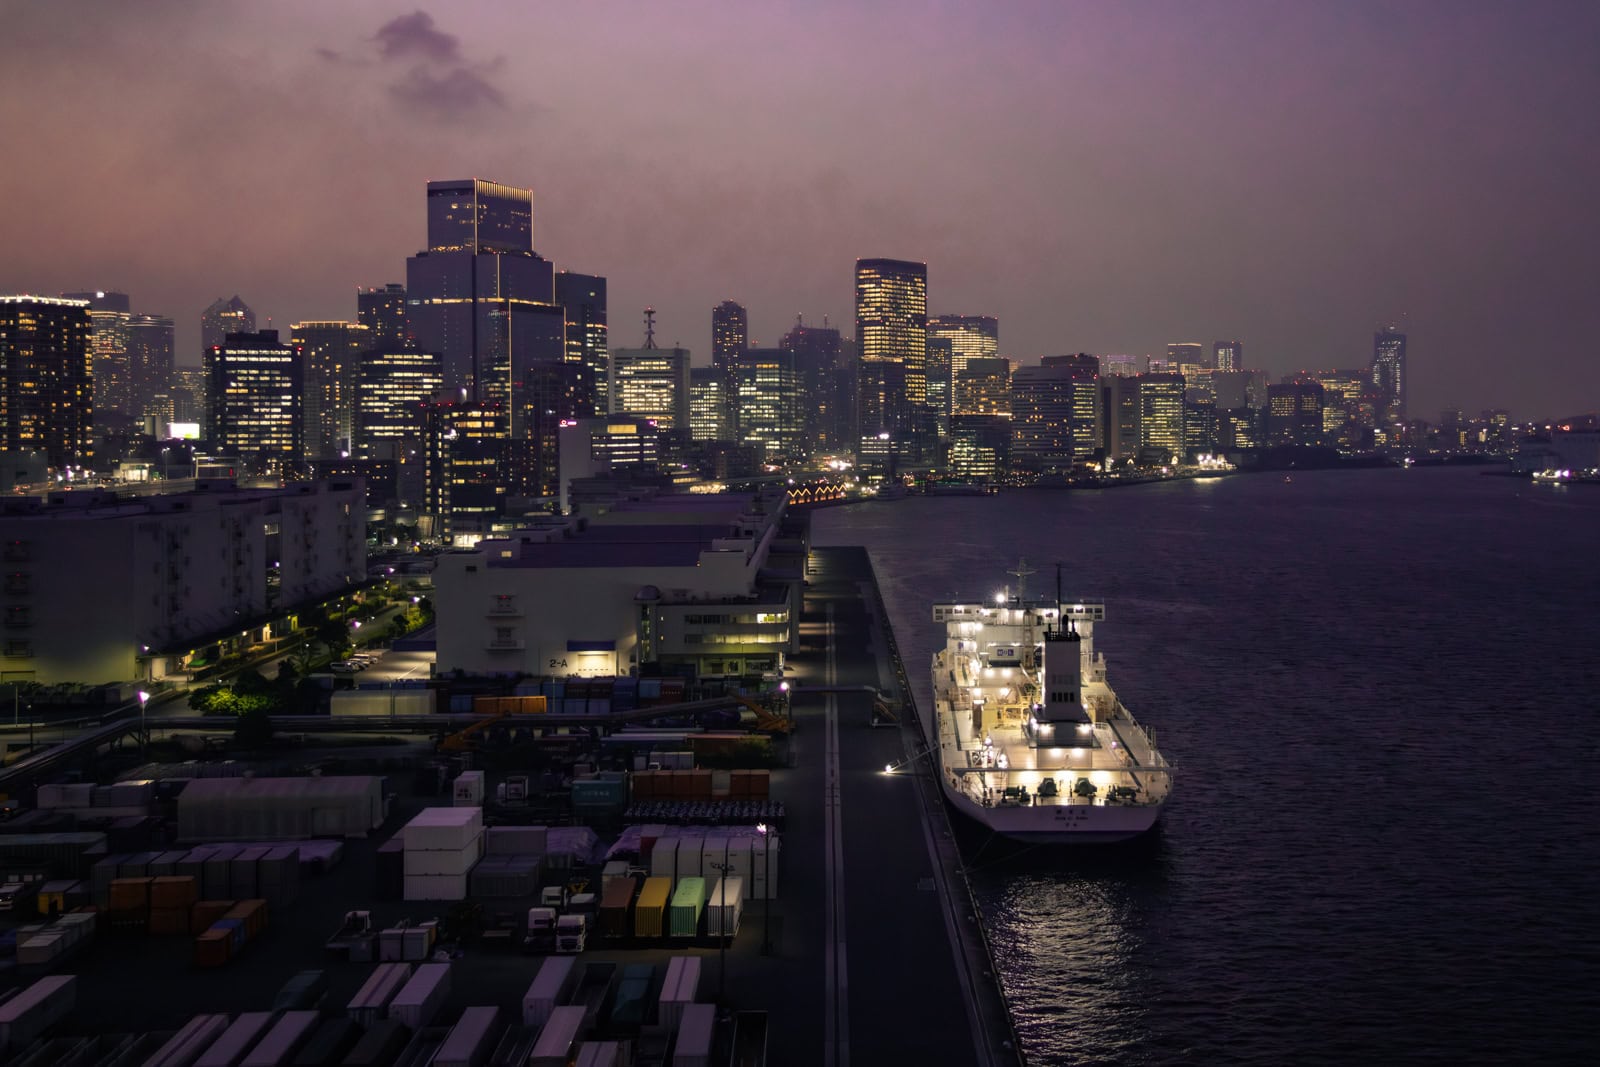
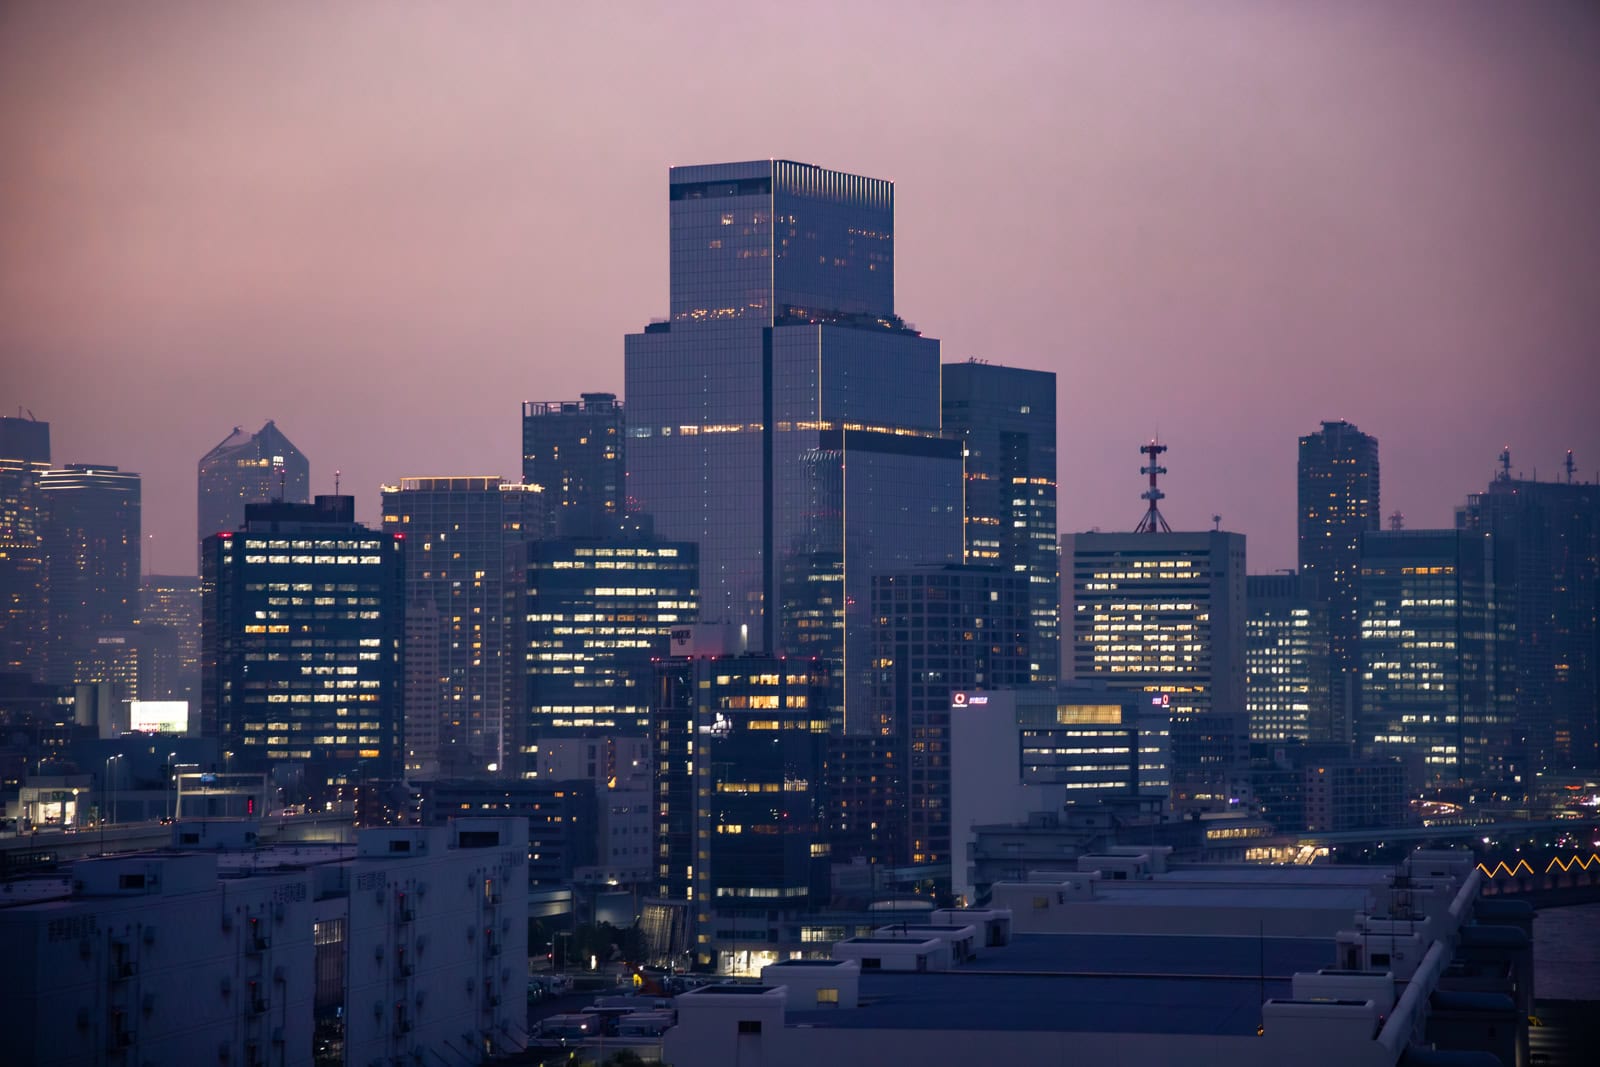
This walkway offers the quintessential Tokyo skyline view. It’s where you capture Tokyo Tower, Tokyo Skytree, and the dense urban landscape of the city center. They get my vote straight away.
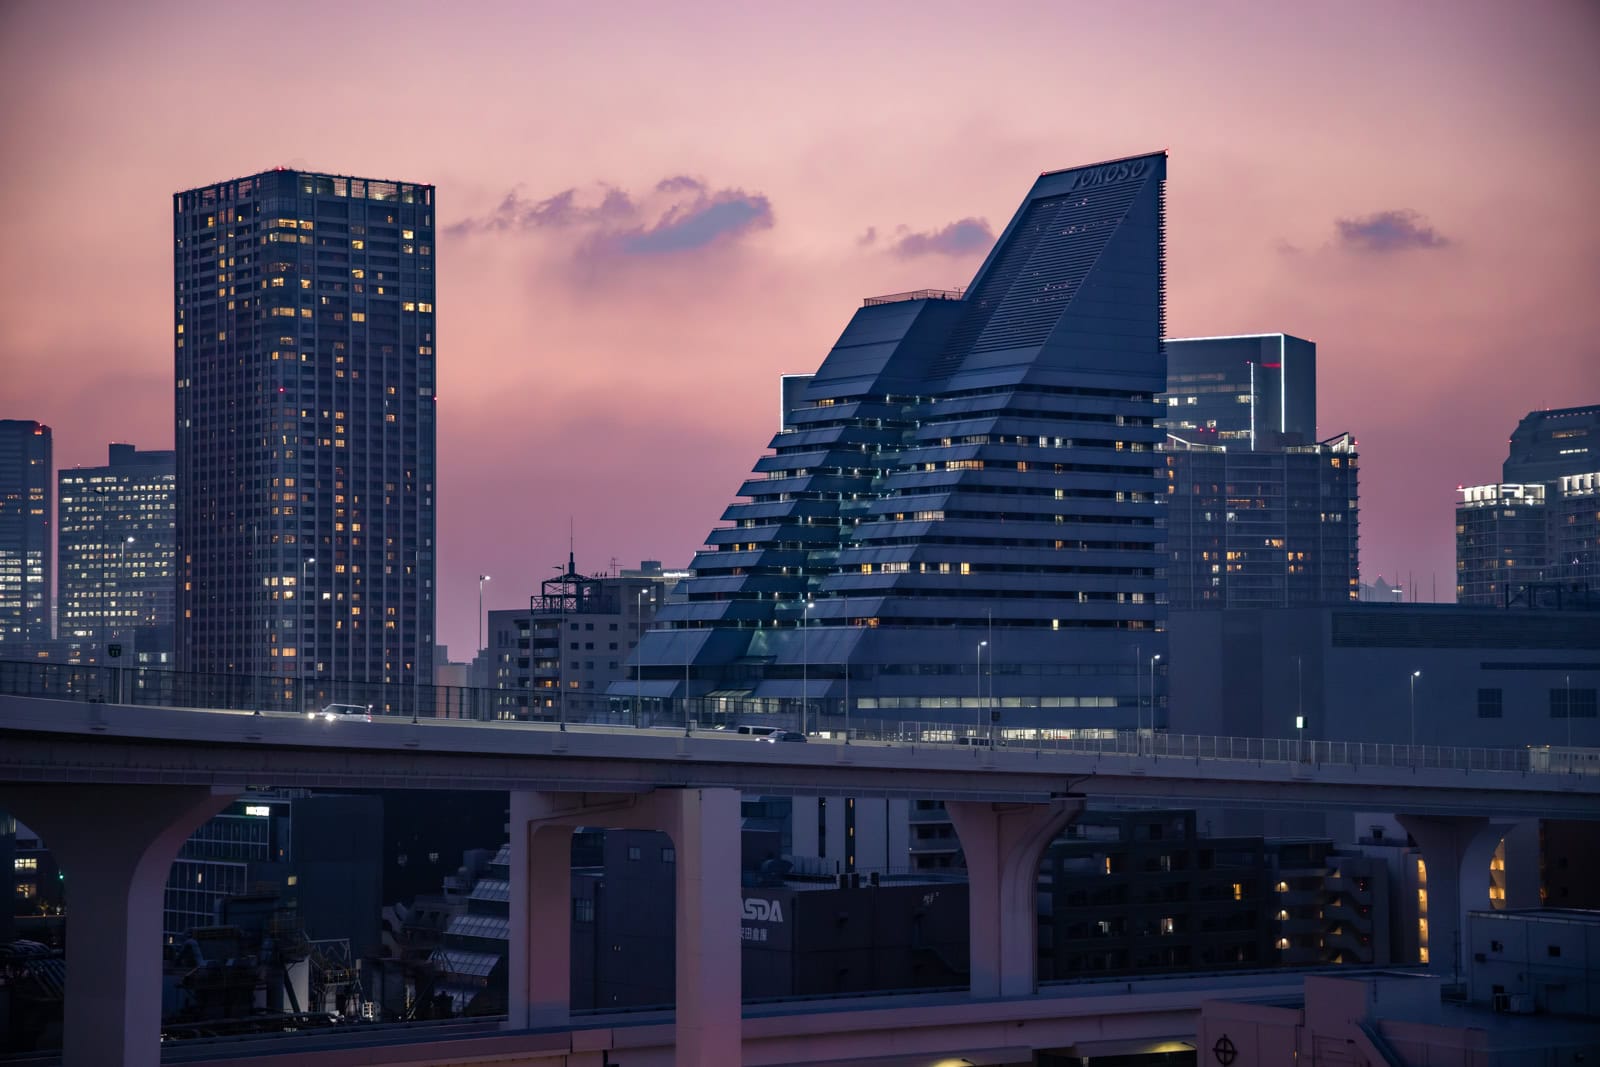
The observation platforms are perfect for wide, memorable panoramas, especially on a clear day. While the old Harumi Passenger Ship Terminal has been demolished and large passenger liners pass under the bridge, the waterway is still busy with jet skis, ferries, and workboats.
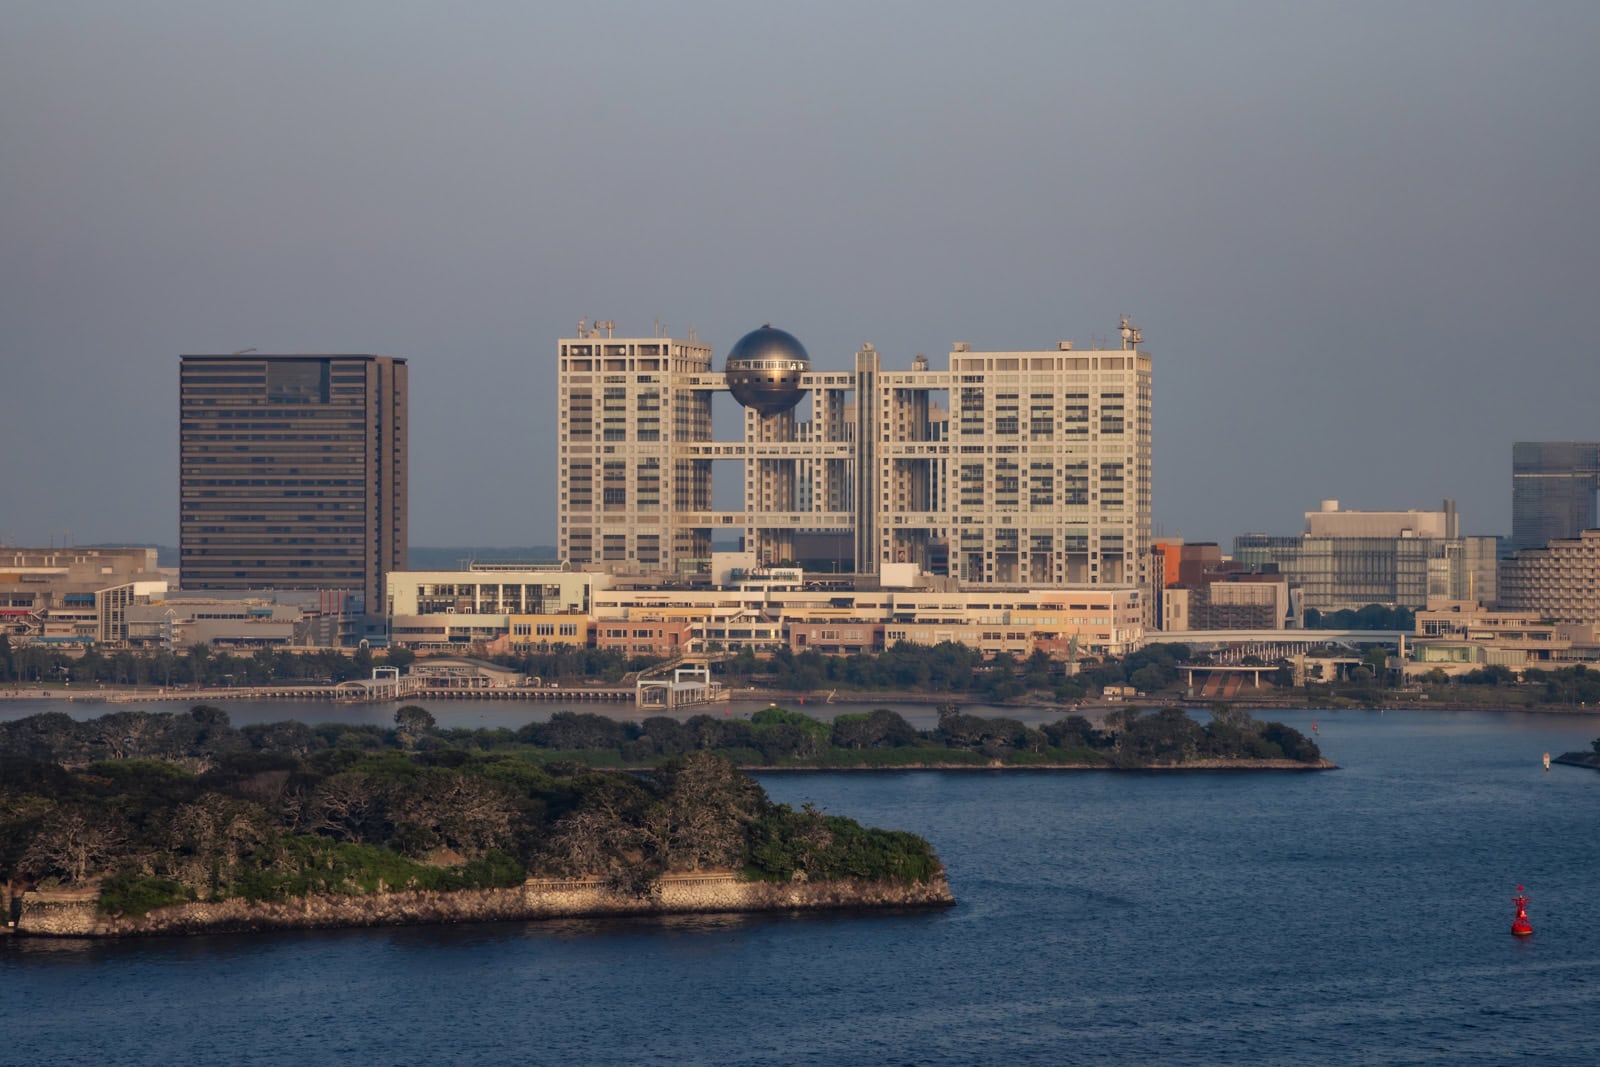
South side: Odaiba views
I rarely walk the south side as it lacks interest. While it offers a view of the Odaiba beachfront and the iconic Fuji Television building with its Hachitama Spherical Observation Room, the scenery is dominated by Tokyo’s main port area.
What to photograph
- The Tokyo skyline: The main event, especially from the north side.
- Iconic landmarks: Frame shots of Tokyo Tower and the Tokyo Skytree.
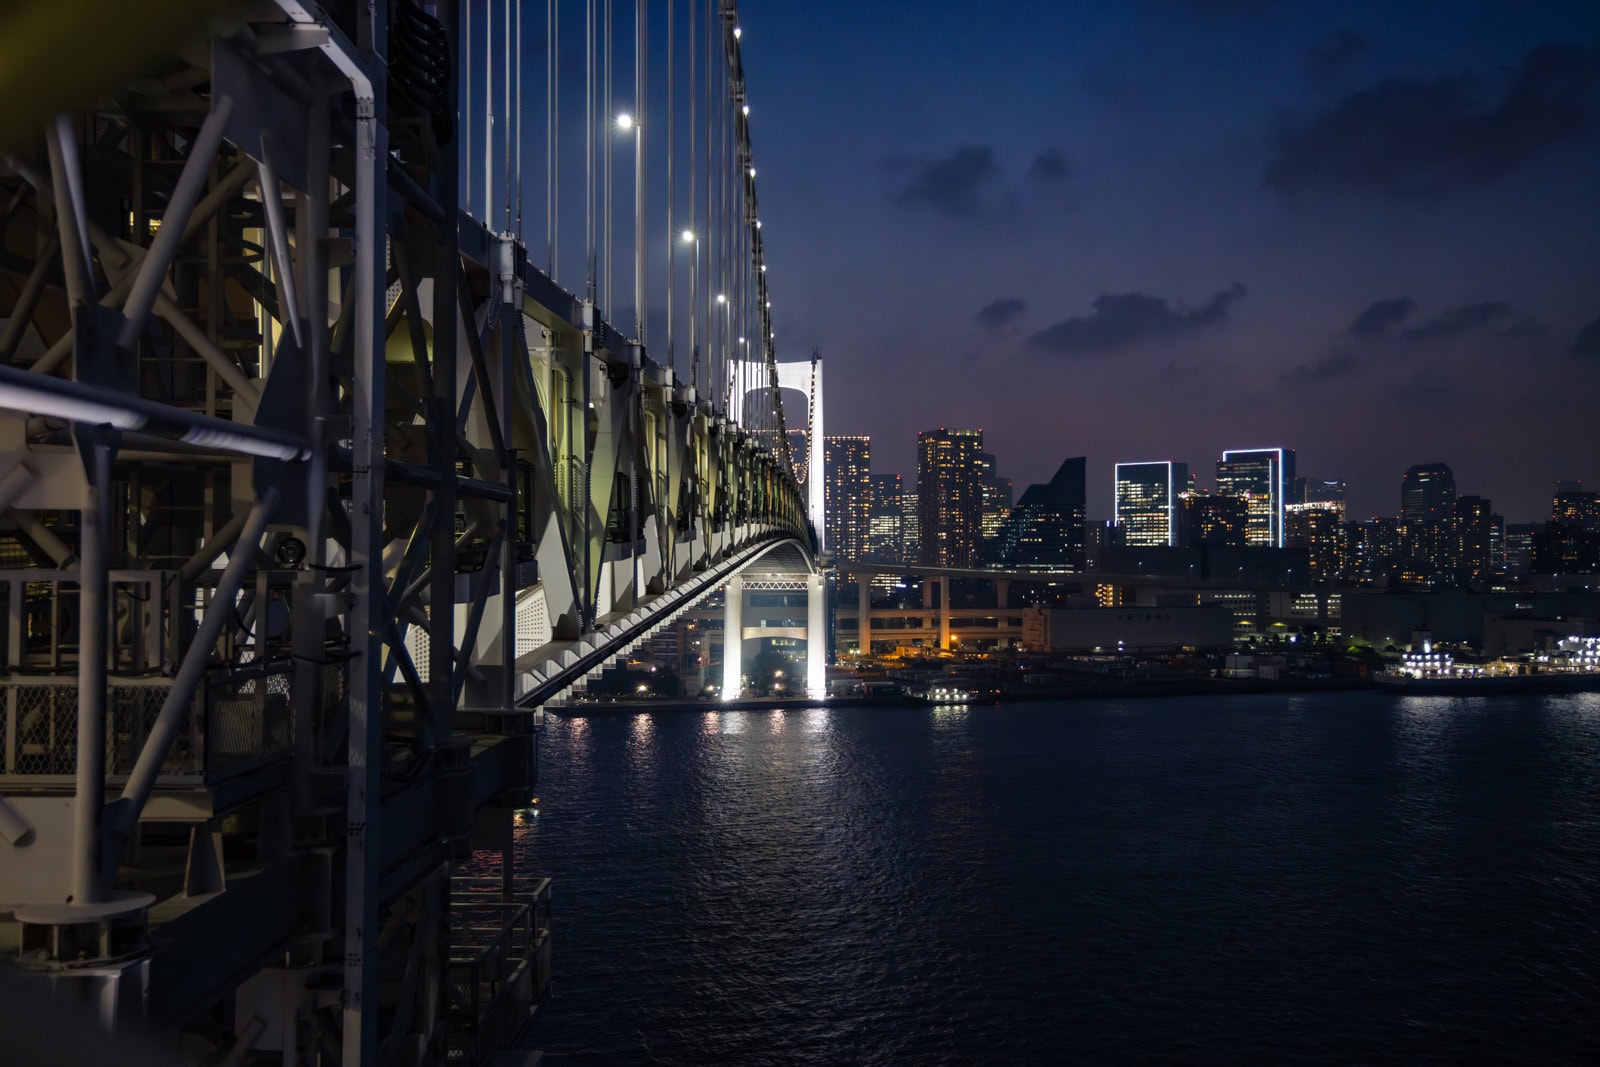
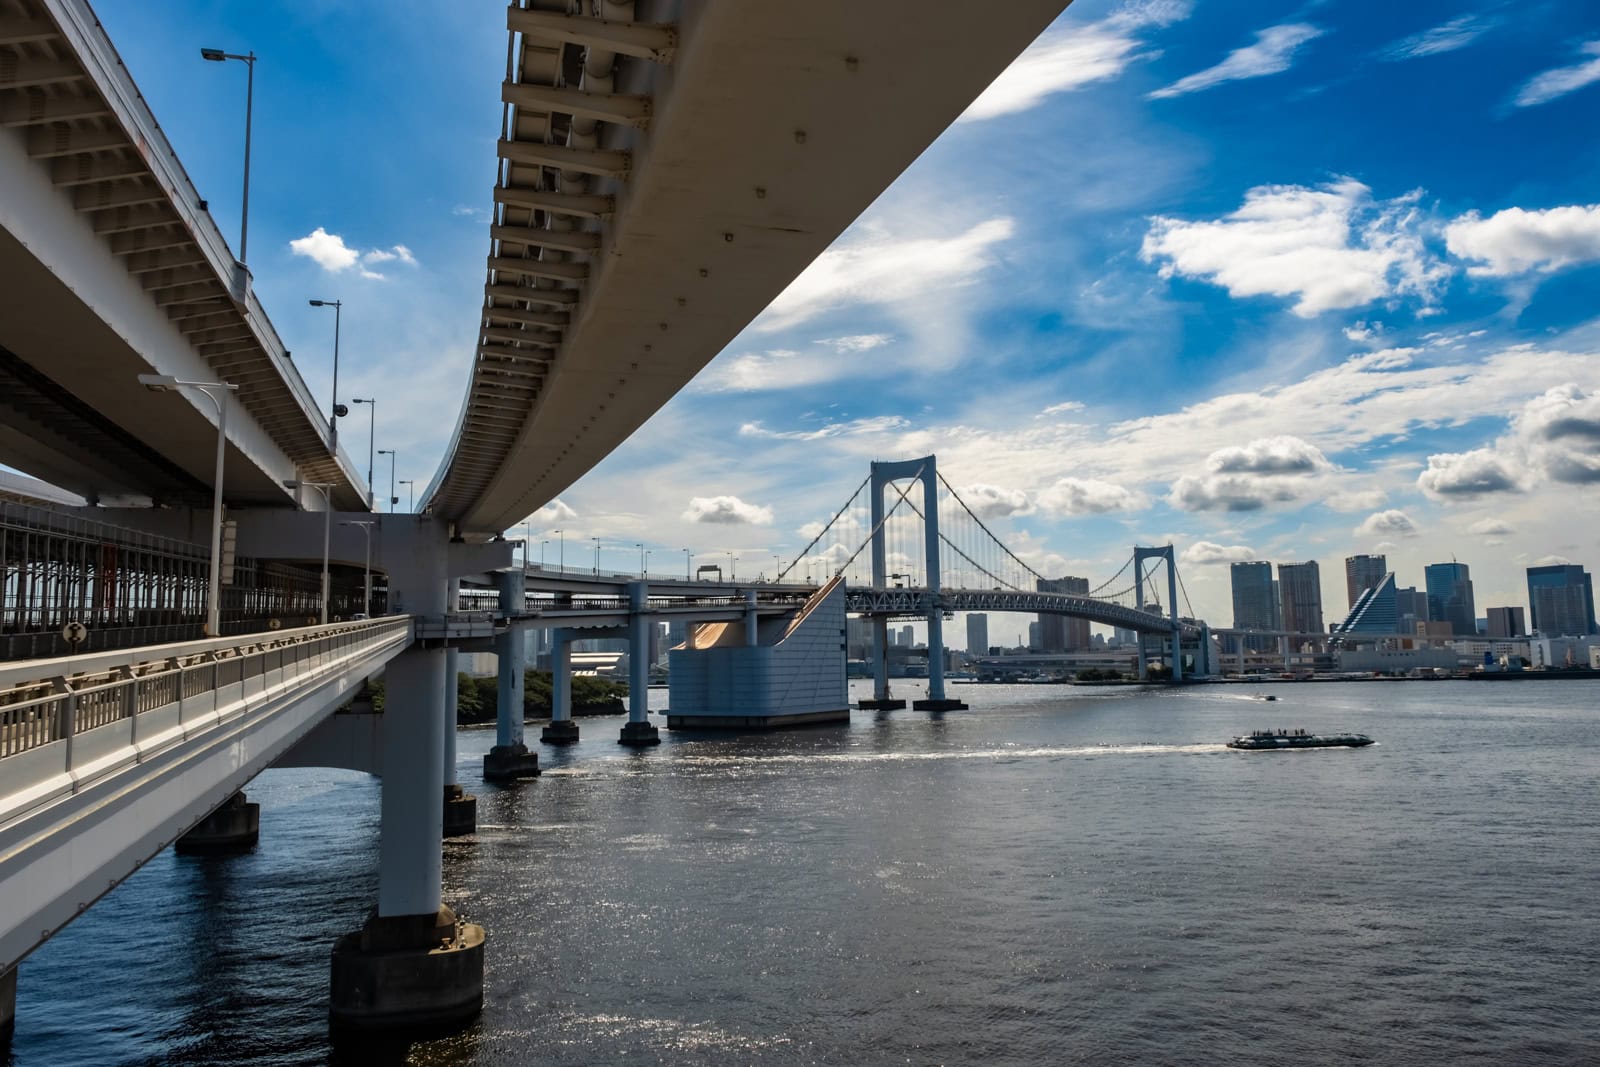
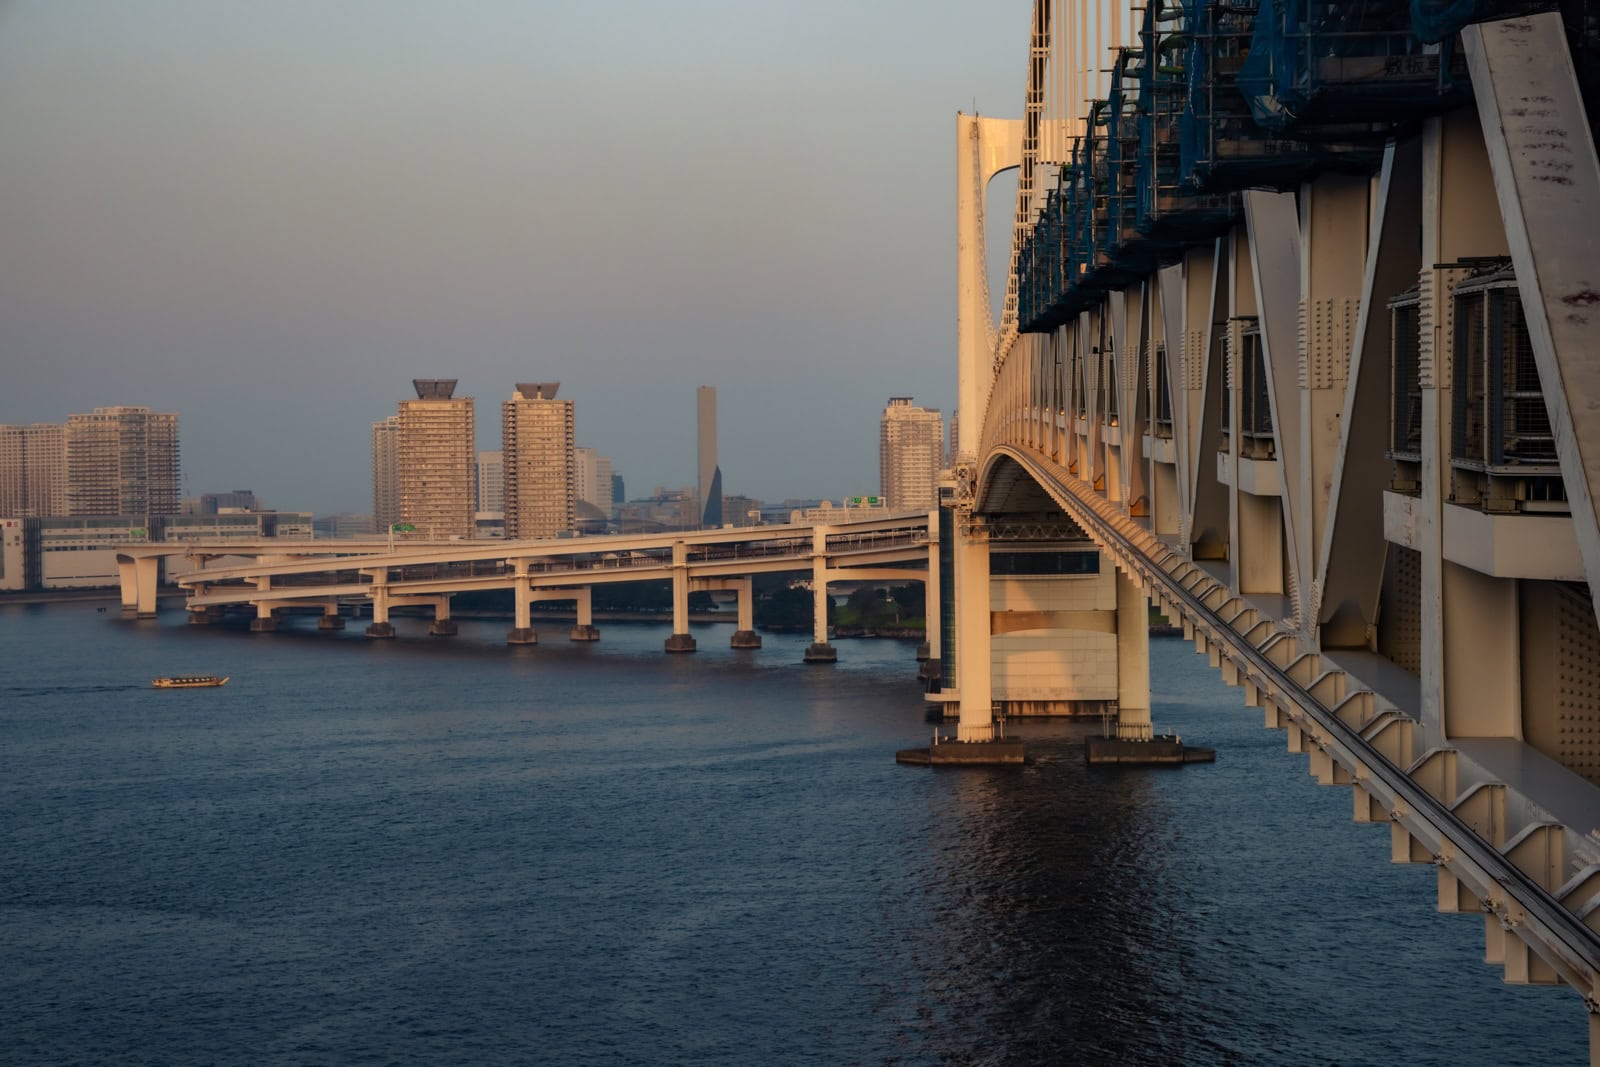
- The bridge itself: Use the structure’s powerful lines and towers to create architectural abstracts.
- Water & rail traffic: Ferries, hydrofoils, and water buses add life to the scene. You can also photograph the futuristic, driverless Yurikamome train as it approaches the bridge.
- Odaiba: The beachfront and unique buildings are best viewed from the south side or from Odaiba itself.
- Street-level action: An enormous amount of traffic, including the Yurikamome, uses the bridge. And if you’re lucky you might even capture the famous tourist go-karts driving that often fly across it.
Gear & composition tips
- Tripods are prohibited, but monopods are allowed. A monopod can be a huge help for stability, especially with a long lens.
- Longer zooms are useful. A 200mm can zoom in on distant subjects. They are perfect for isolating landmarks like Tokyo Tower.
- Beware the wind: The middle of the bridge sways on windy days, which can make sharp, long-exposure photography challenging.
- Beat the fence: High wire mesh fences cover the walkways. Cameras won’t fit through the gaps. Look down. At ground level, there are grilles with vertical bars and no horizontal ones. Get on your knees. Most lenses will fit through for a better shot.
- Use the observation decks: At either end of the bridge, you’ll find observation platforms. Some are open, while others have fences with pre-cut holes for cameras. On the unfenced platforms, be careful with your gear. If you drop it, it’s gone forever!
Visitor information
Getting to Rainbow Bridge (Shibaura entrance)
The easiest access is via the Yurikamome line. Take the JR Yamanote Line to Shimbashi Station, then transfer to the Yurikamome and ride to Shibaura-Futou Station. The bridge entrance is a five-minute walk from there.
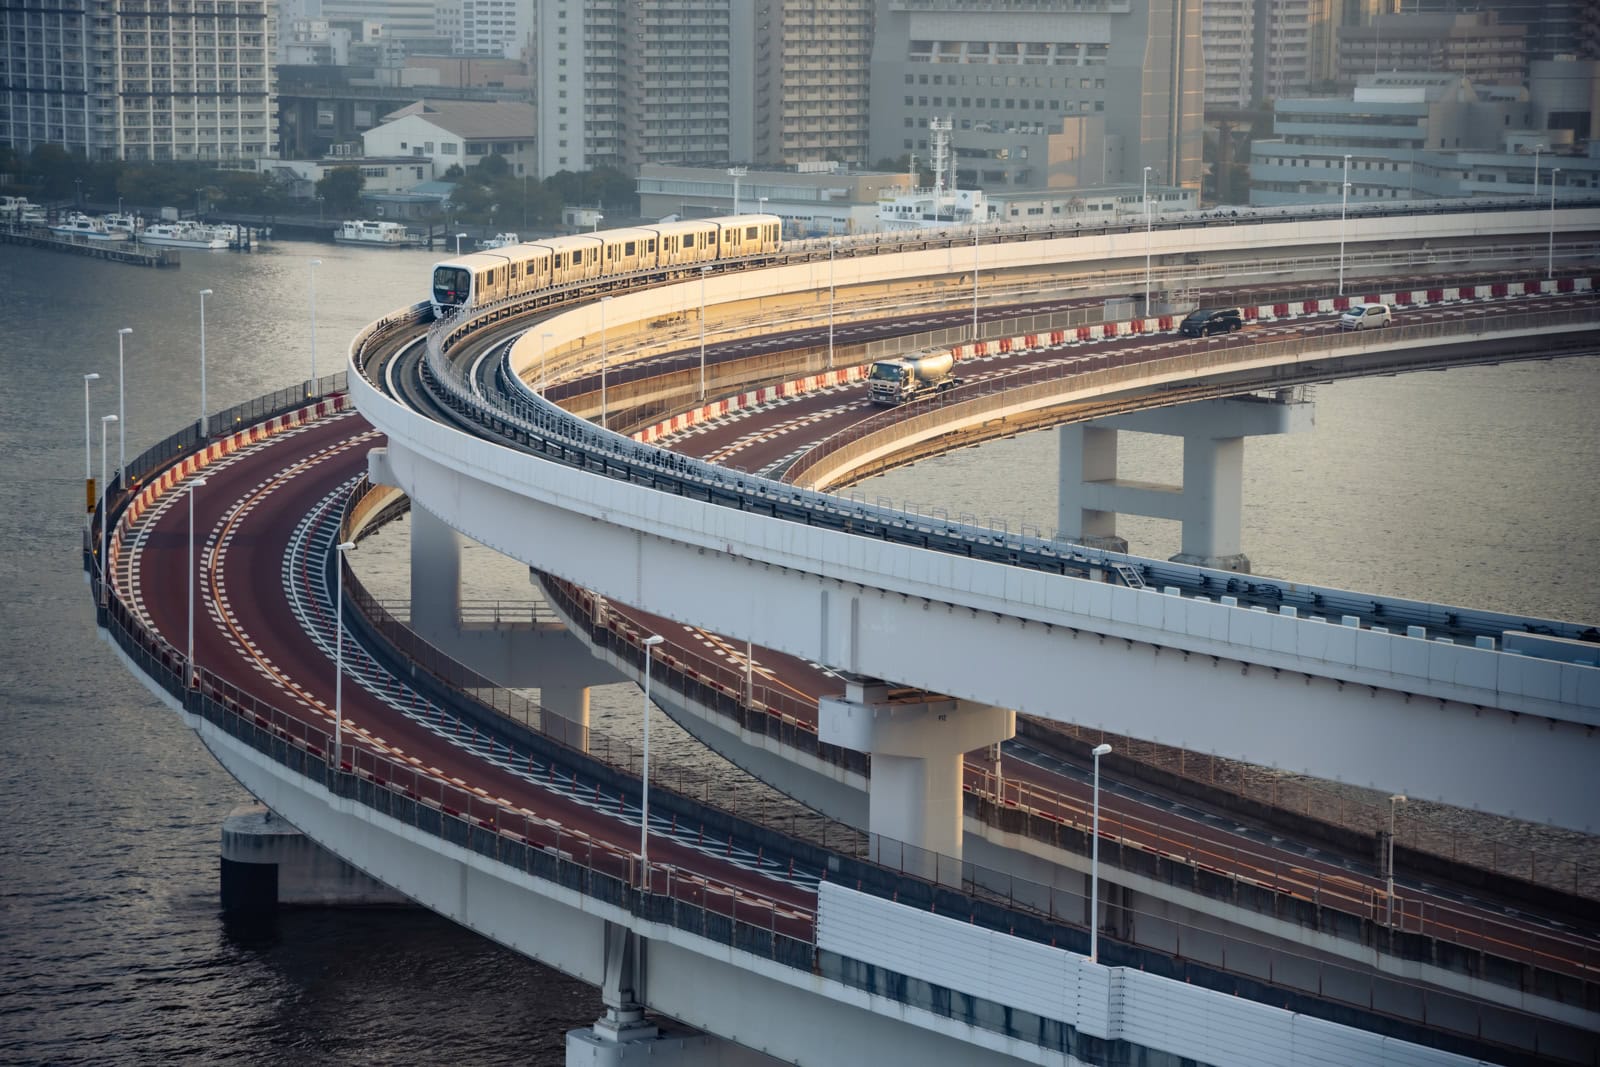
At the bridge, you’ll find a reception building with restrooms and vending machines. Take the elevator for either the north or south walkway up to the lower deck (the upper deck is for vehicle traffic and is inaccessible to pedestrians).
Here is the bridge on Google Maps:
Bridge walking hours, admission & closures
- Summer (April – October): 9:00 a.m. to 9:00 p.m.
- Winter (November – March): 10:00 a.m. to 6:00 p.m.
- Last admission: 30 minutes before closing.
- Closures: The walkways are closed on the third Monday of every month (or the following day if the Monday is a public holiday).
- Costs: Walking the bridge is free. The Yurikamome fare from Shimbashi to Shibaura-Futou is ¥260 one-way (as of February 2026).
Best time to visit for photography
For the best light, plan your walk for the late afternoon. You can catch the city in the soft golden hour light, capture a stunning sunset, and stay as the city lights begin to sparkle.
Bridge lighting
The bridge’s famous rainbow lights turn on at sundown and switch off at midnight. Special holiday illuminations also occur throughout the year. Learn more from the official Shutoko website.
Walk duration
The walk across the 798-meter bridge usually takes me about 25-30 minutes if I don’t stop. So, you should budget at least 90 minutes to two hours to allow for setting up shots and waiting for the best light.
Other practical information
- Public restrooms: Available in the reception areas at both ends of the bridge. There are none in the middle.
- Bicycles: You must push them across the bridge. At the reception office, staff will attach a small dolly to the rear wheel. Traffic is one-way: use the south side to go from Shibaura to Odaiba, and the north from Odaiba to Shibaura.
Is the walk worth it?
Rainbow Bridge offers one of Tokyo’s most rewarding photo opportunities. From its stunning skyline views to its striking architecture, it’s a location that delivers every time. I enjoy it, as there is always something to see.
For a dramatic shot of the bridge itself, walk over to Daiba Park or the Statue of Liberty replica after your crossing. From those two places, you can capture the bridge in all its glory against the city backdrop, a classic photo, especially at sunset or at night.