Have you ever wondered how photographers capture stunning, colorful light trails in night cityscapes? The technique is called long-exposure photography. This guide will teach you how to make your own by looking at the gear and camera settings you need.
Long-exposure photography camera gear
First, stability is the name of the game. Your camera’s shutter will be open for an extended period and any movement will cause your photo to blur and the shot will be ruined, so keep your hands away from it. To do that, use a tripod and a shutter release cable.
The tripod provides stability and a shutter release cable removes the need to touch your camera to take an image. Both items can be cheap, but as with most things in life, the more expensive ones are usually better quality. Research before you buy to get what is best for you.
But don’t worry about tripods and shutter release cables if you don’t have them. A stable surface, like a window ledge, can provide good stability. However, make sure your camera won’t fall anywhere causing damage.
You don’t want to touch the camera to take the photo so use a shutter release to take the photo. If you don’t have one, use the camera’s internal timer. Consult the manual on how to use it.
Mastering the key camera settings
What are these? They are shutter speed, aperture, and ISO. Let’s look at them.
Shutter speed
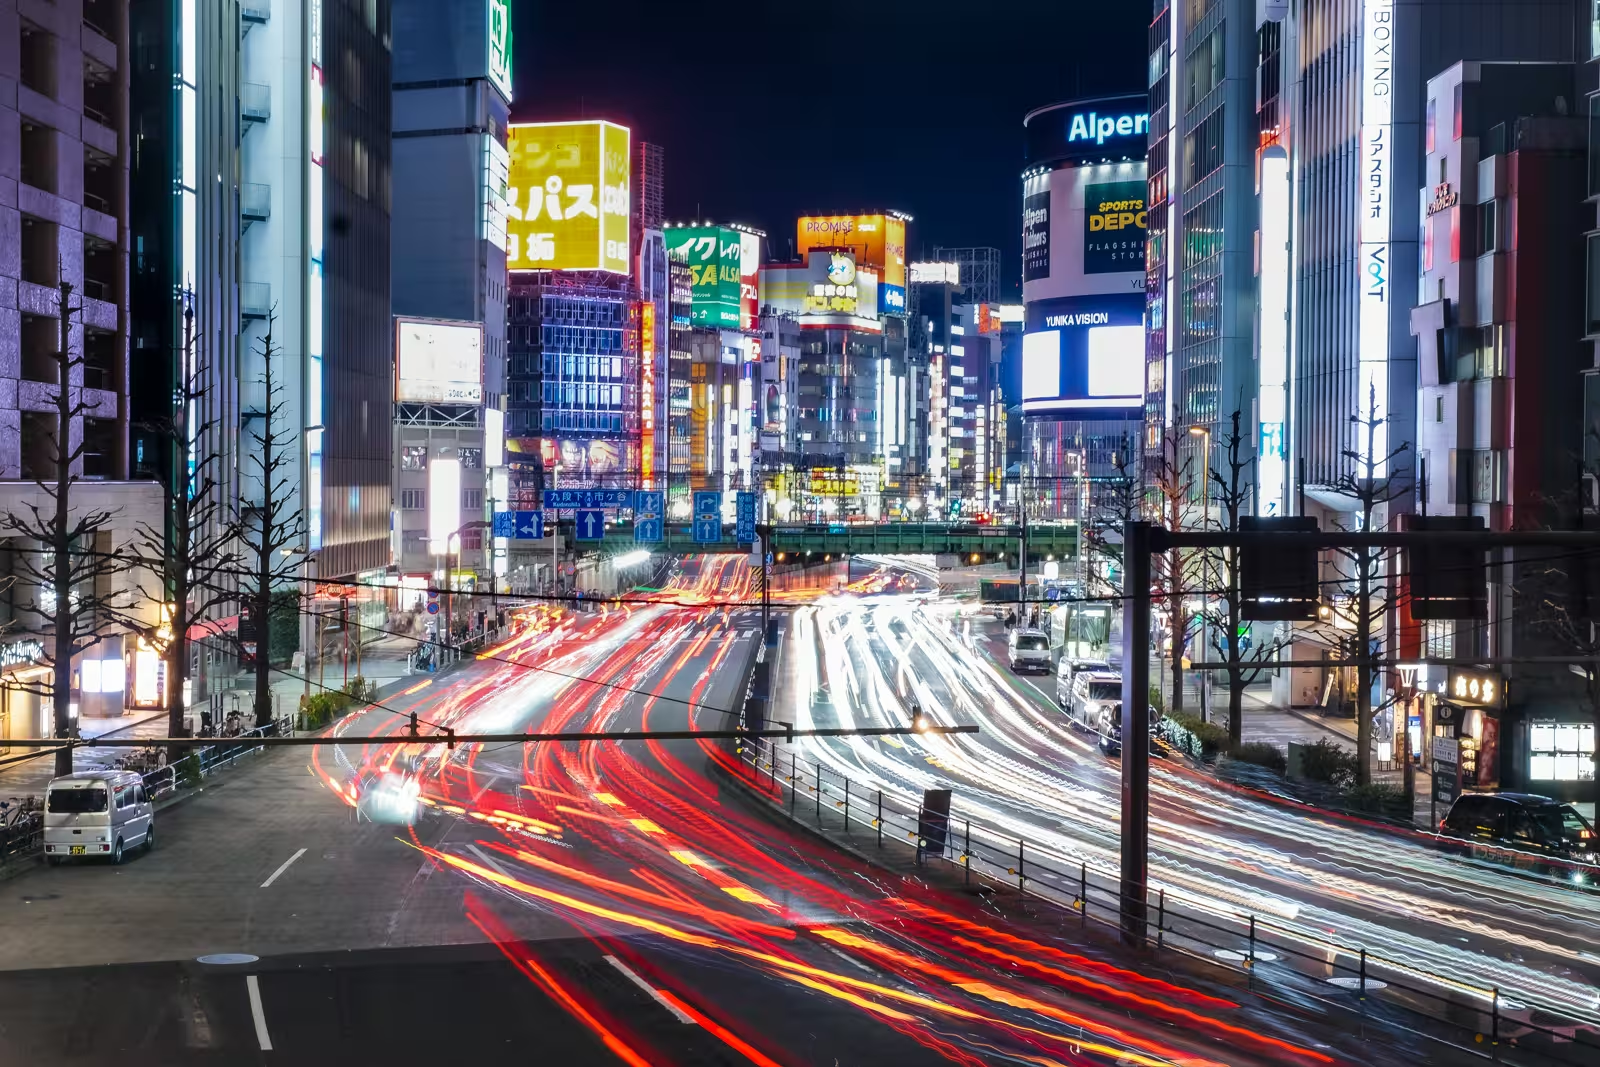
The longer the shutter speed, the more light will hit the sensor. That creates motion blur and those fabulous light trails when things, like cars, move around.
Of course, the opposite is true. The shorter the shutter speed, the less light hits the sensor which can result in dark images and less than desirable light trails.
Aperture
The aperture is the opening in the lens that controls how much light hits the camera’s sensor. We can make it big (e.g., f/2.0) or small (e.g., f/22). The smaller the number, the image will be brighter and the converse is true. Big numbers will make it darker.
Aperture influences the depth of field but the length of the lens, distance to subject, affects this too. The wider it is (e.g., f/2.0),the depth of field is shallow. Things behind your subject might be blurred. Close it down to the f/22, and it’ll be deep. That means more will be in focus. Adjust it accordingly.
ISO
ISO controls the sensitivity of the camera’s sensor. Increasing it will make your image brighter. Decrease it to make it darker. It has a downside, though. The higher it goes, the more noise or grain will appear in your image.
Manual focus
Cameras can hunt for focus in low-light environments which could cause your image to blur. Change to manual mode to overcome this problem. If you don’t know how to use it, consult the manual.

Your first long-exposure: A step-by-step guide
Camera settings
For a starting point, with no neutral-density filter, I’d set up my camera at night or at least blue hour with these settings:
- Mode: Manual (M)
- Tripod: Use if you have one
- ISO: 100 (or your camera’s lowest native setting)
- Aperture: f/8 – f/11
- Shutter Speed: Start at 5 seconds and adjust as necessary
- Focus: Manual focus on your subject
Let’s take the photo
- Have you decided on your subject? Find one and set up your camera, not forgetting the tripod and shutter release. If you don’t have those, find a stable place and use the internal timer. Make sure your composition is correct.
- The shutter needs to be open for the appropriate amount of time. That could be seconds, minutes, or longer. For this lesson, let’s use a shutter speed of five seconds.
- Don’t forget your depth of field. A great starting range for light trails is f/8 to f/11. This setting also creates a deep depth of field, keeping more of your scene in sharp focus. Experiment with it as you become more familiar with long exposures.
- Finally, consider your ISO setting. For long exposures, you must keep it low. A low ISO makes the camera’s sensor less sensitive to light and also reduces digital noise or grain. For a five-second exposure, use the lowest possible setting your camera has (e.g., ISO 100).
- Use the shutter release or internal camera to take your image. Wait until your shot is finished.
- Look at your photo. Don’t worry if your first attempt isn’t perfect! If it’s over- or underexposed, that’s okay. Mistakes are a learning experience that teaches you what doesn’t work!
When to take light trail photos
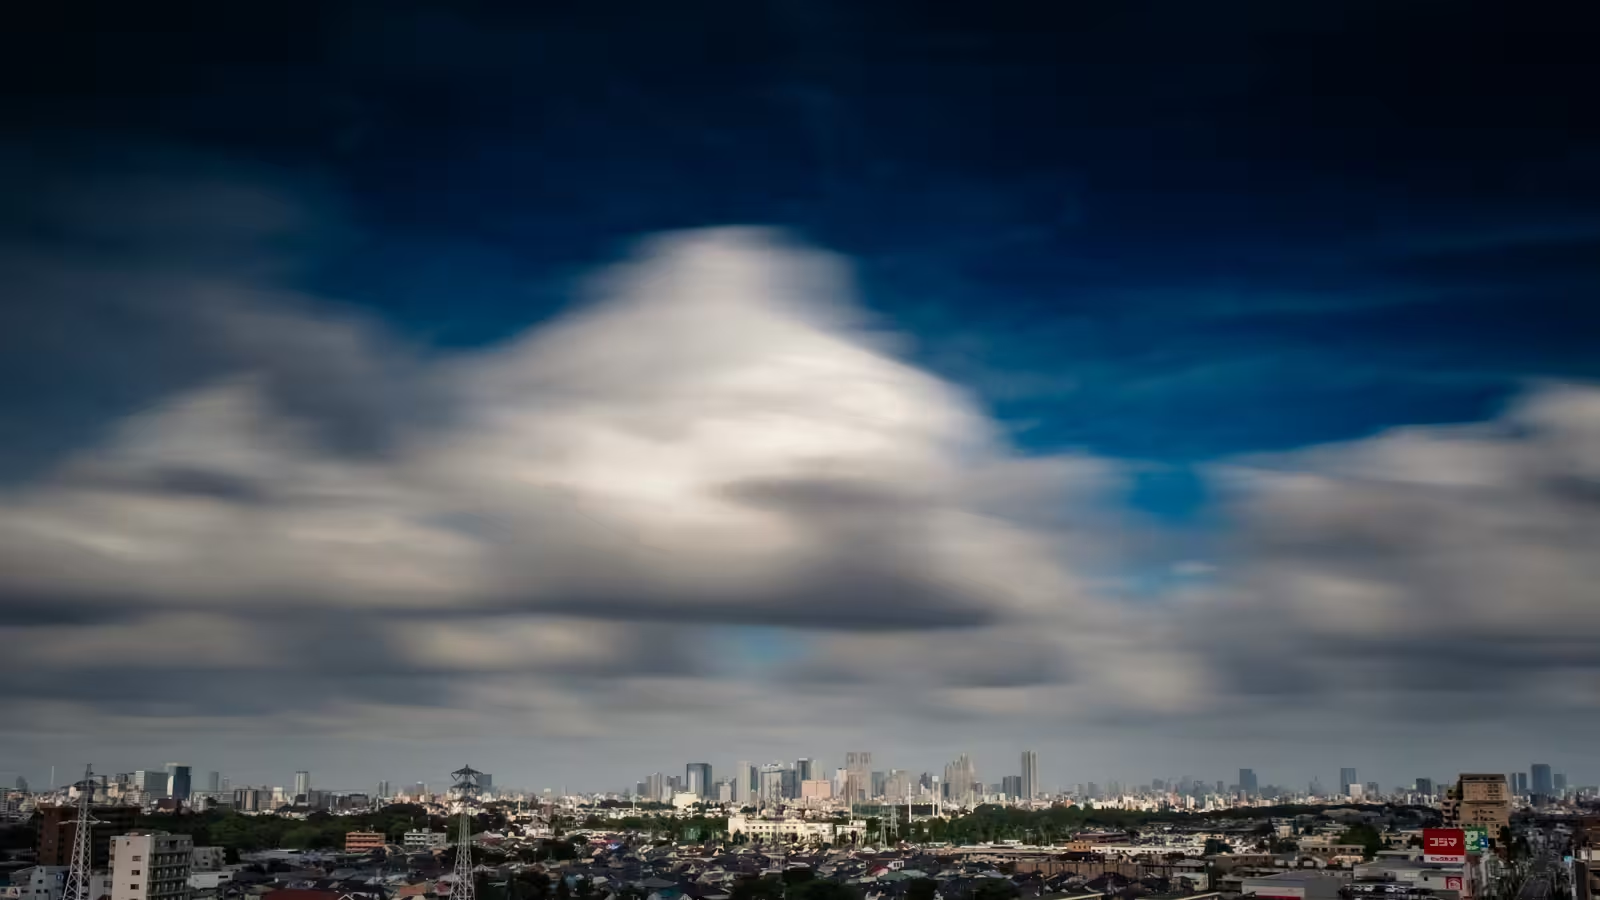
Believe it or not, they can be taken at any time. Yes, you can take them even during the daytime, even on a brilliant sunny day. But you will need some special gear like a neutral density filter like the one I used in [Silky in Tokyo: A Lee Filters Super Stopper Review]. But if you don’t have one of those, you have other options:
- Golden hour: This is the first hour after sunrise and the last hour before sunset. The sun is low, producing soft, warm, and directed light. If you can’t get decent length light trails, play around with the aperture. Remember the bigger the number, the less light enters the lens which makes for a darker image.
- Blue hour: This is just before sunrise and just after sunset, when the sun is below the horizon, creating soft, moody blue and purple tones. Generally speaking, it lasts about 20–40 minutes, but can be longer.
- Nighttime: This is full darkness, the sky is completely black. But that means the surrounding area will be dark as well. With no ambient light only the light trails might be visible. You won’t see details in the environment if it isn’t lit.
Best Tokyo Spots for long-exposure photography
Before we wrap up, here are more long-exposure photography spots:
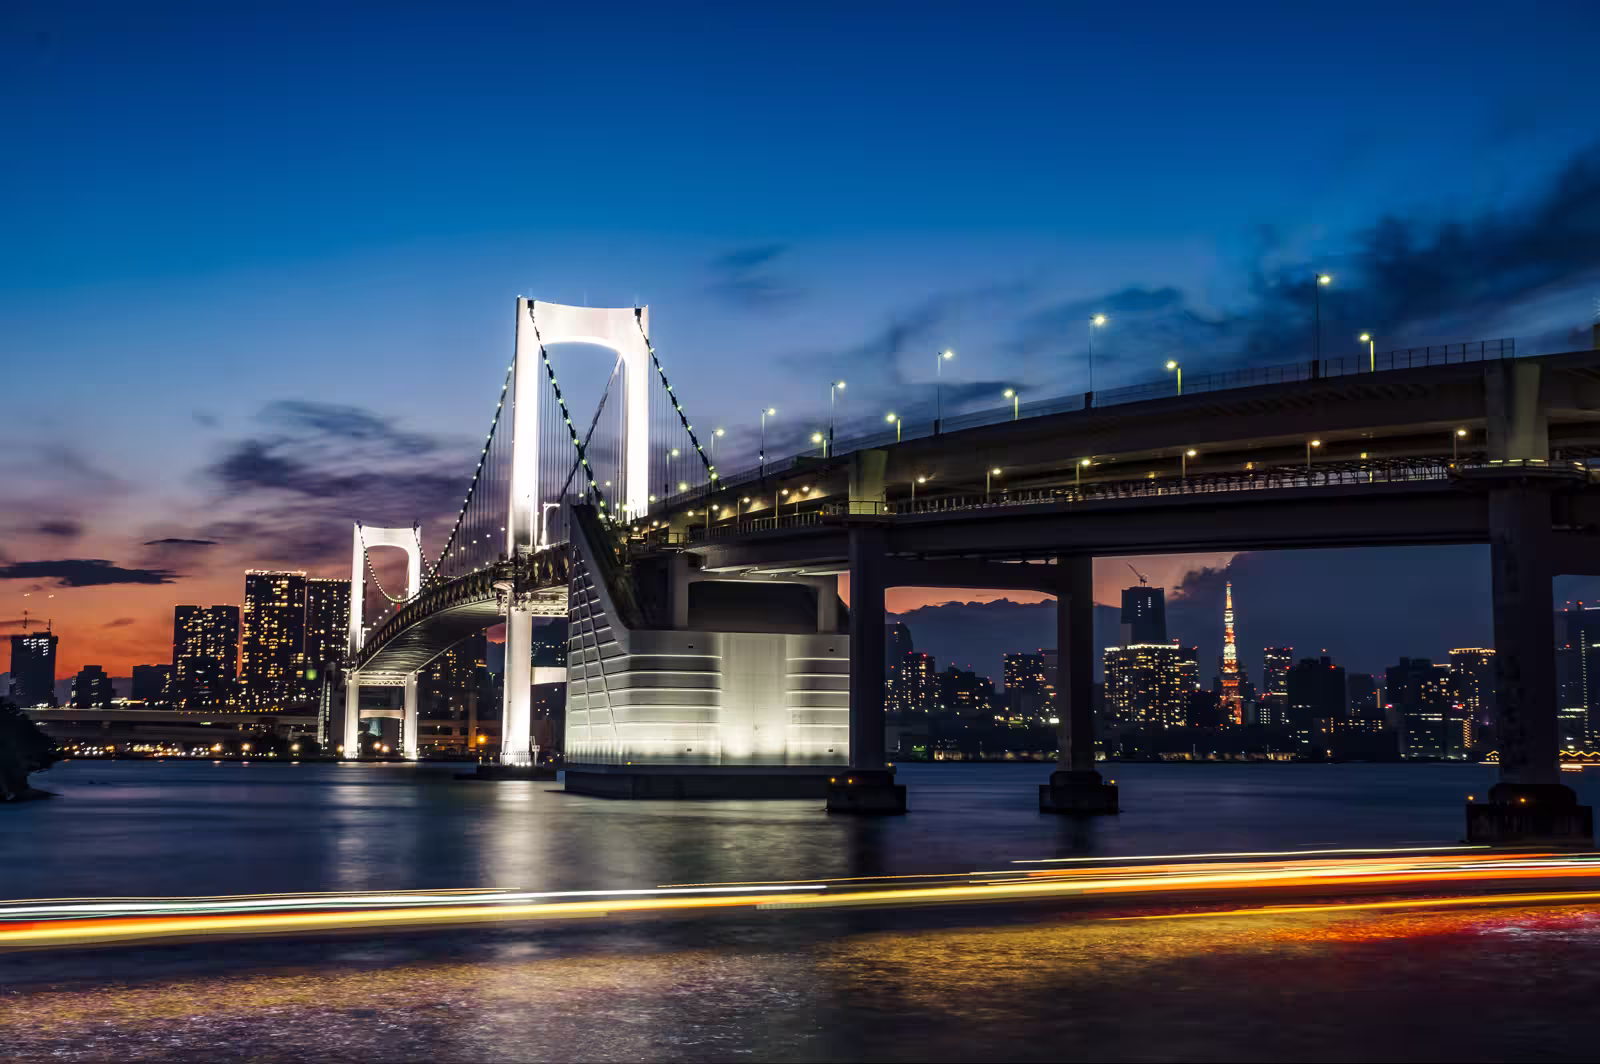
- Daiba Park: This spot offers the quintessential Tokyo skyline view, including the iconic Rainbow Bridge. You can capture stunning light trails from cars on the bridge and boats cruising in the bay.
- Hakozaki Junction: Photograph Tokyo’s “Kraken”.
- The Colossal Fantasy Fortress of Akihabara: The pop-center of Tokyo has a secret fortress that looks great in a long-exposure.
- Remembering the Laser Beam View of Tokyo Skytree
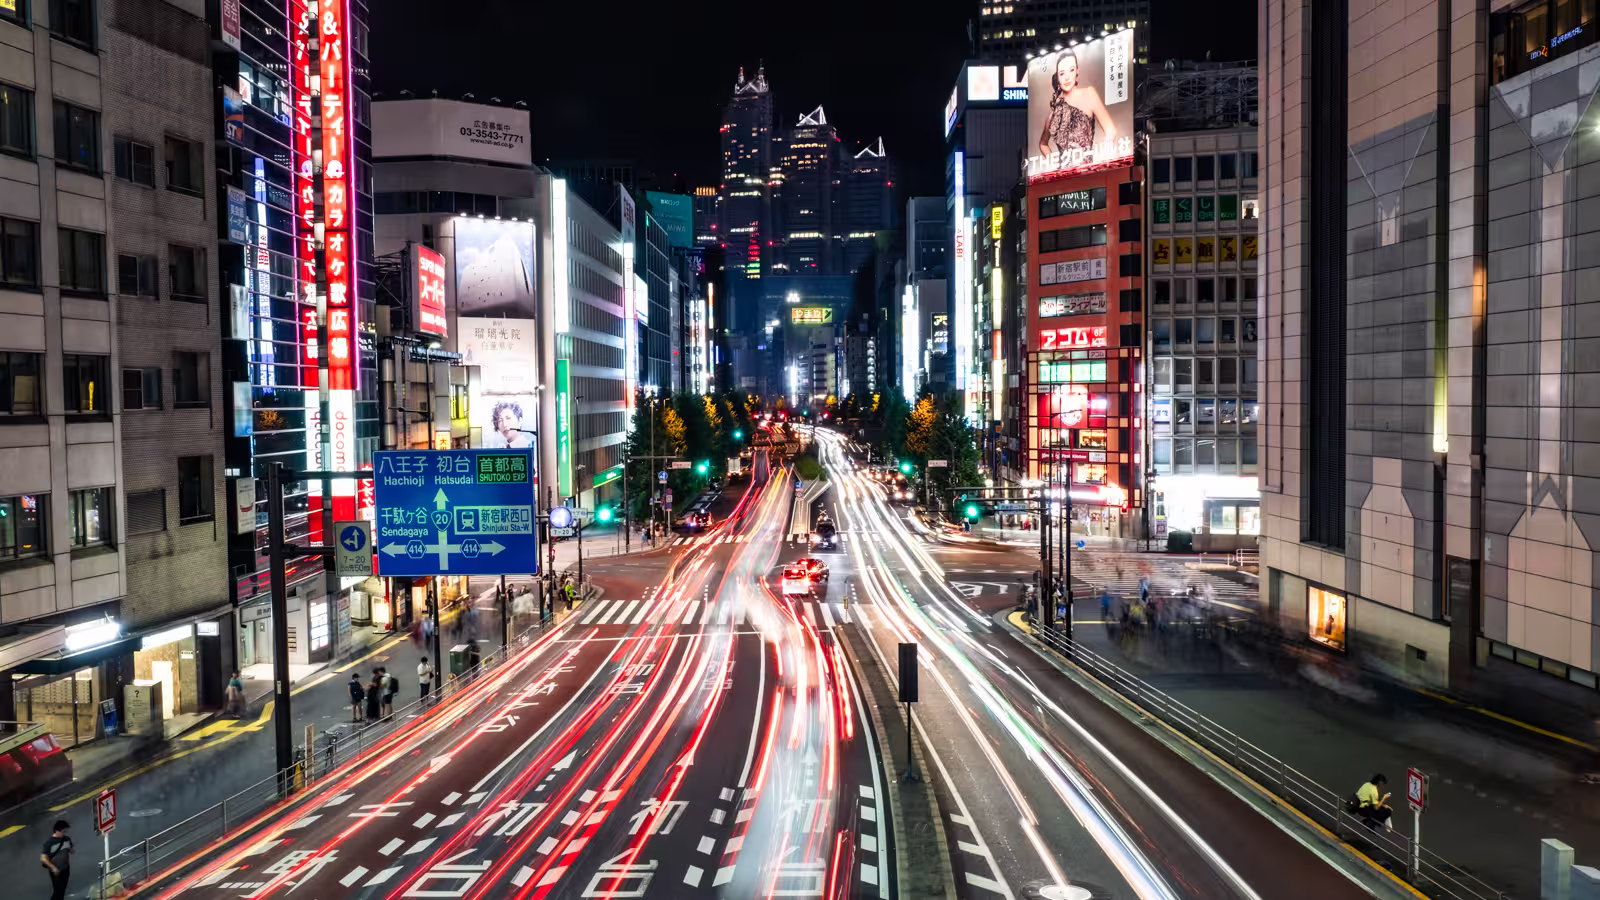
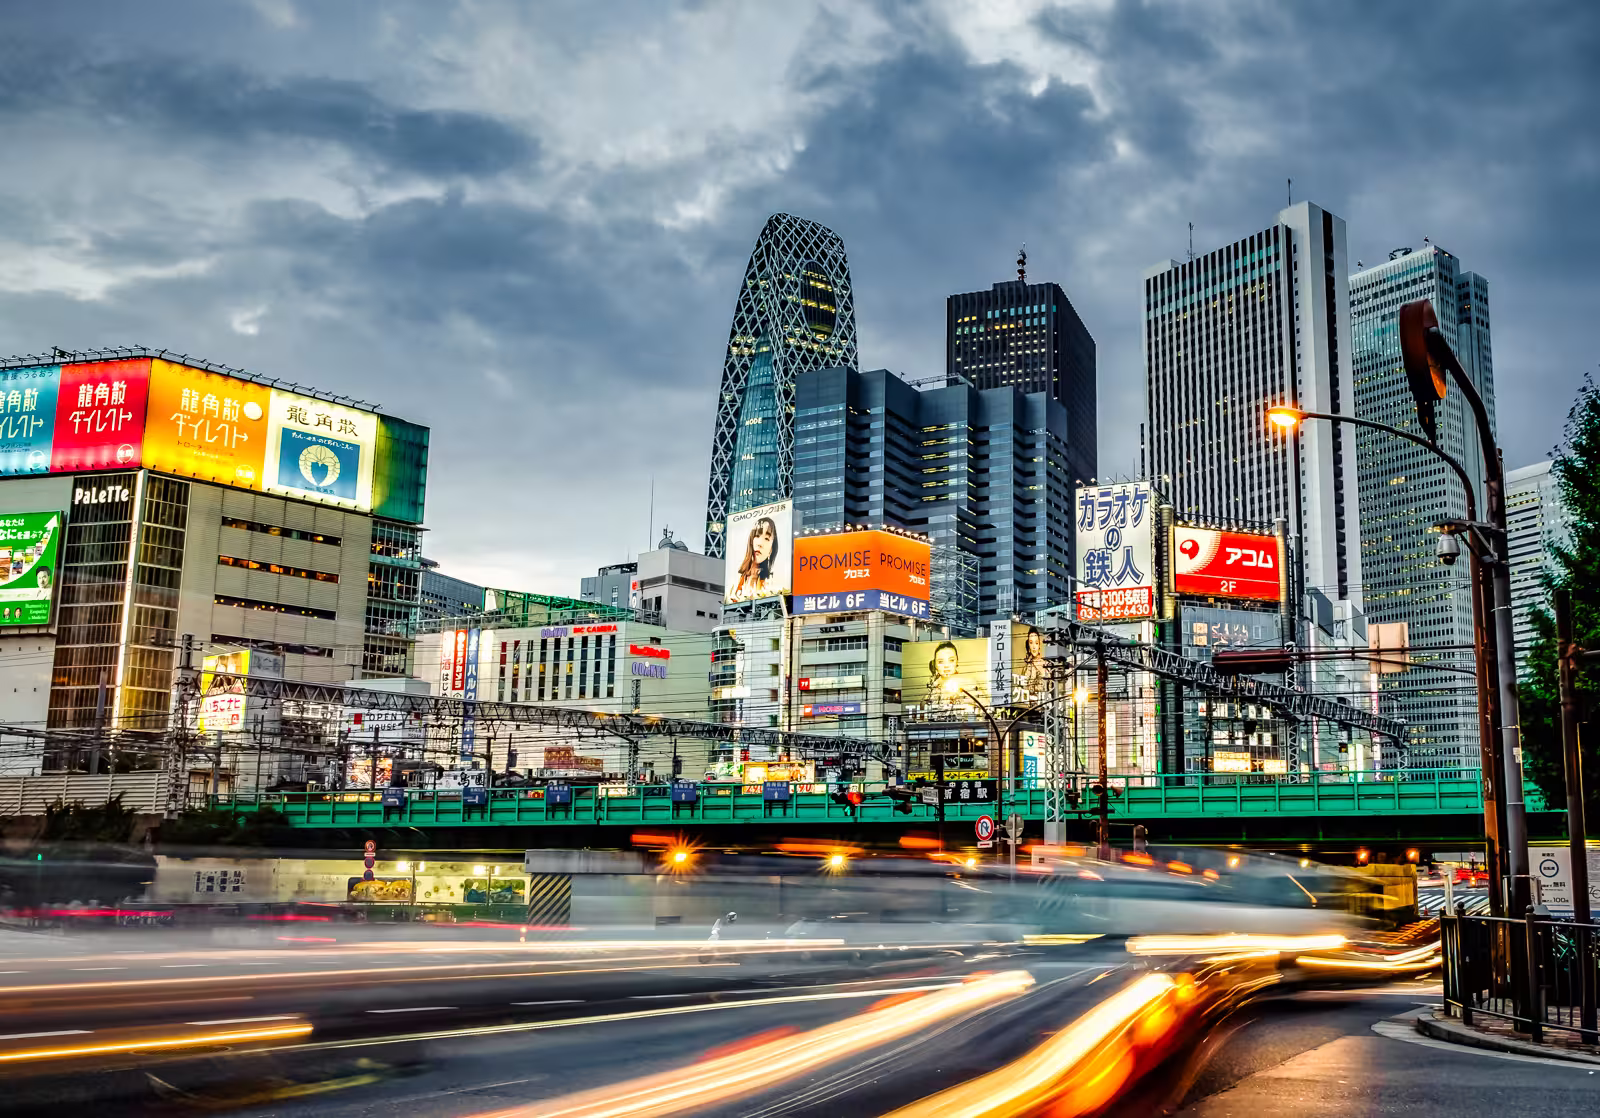
- Sompo Japan Building: A Nishi-Shinjuku skyscraper with cars passing under it. It’s perfect for light trail photography.
- Tokyo Gate Bridge: Long Exposures on a Cloudy Evening
- Uonami Fish Bar: Capture the light trails of passing cars against the retro vibe of a “sakaba”.
Are Tokyo long-exposure photographs worth it?
Long-exposures add another layer of beauty to Tokyo at night. Their light trails fill images with motion and mystery. Multi-second exposure can smooth out a river or make people disappear. In short, you’ll enter another world that isn’t visible to the human eye.

Creating long-exposure photographs is a straightforward process of controlling light and time. By stabilizing your camera, setting a low ISO, choosing a small aperture (like f/8), and experimenting with a multi-second shutter speed, you have all the tools you need. The key is practice, so grab your gear, head out after sunset, and start capturing those beautiful trails of light. Leave any questions you have in the comments below!
More articles about long exposures
- How to take long exposure photos by Trevor Sherwin