Daiba Park: A Secret Spot for Perfect Rainbow Bridge Photos
Situated on a small island, Daiba Park is a perfect, yet often overlooked, spot for photographing the iconic Rainbow Bridge. While it may not be as famous as other Tokyo viewpoints, its relative obscurity means fewer crowds. With this photo guide, I hope to show you just how much photographic potential it holds.
Finding the best view of Rainbow Bridge Tokyo
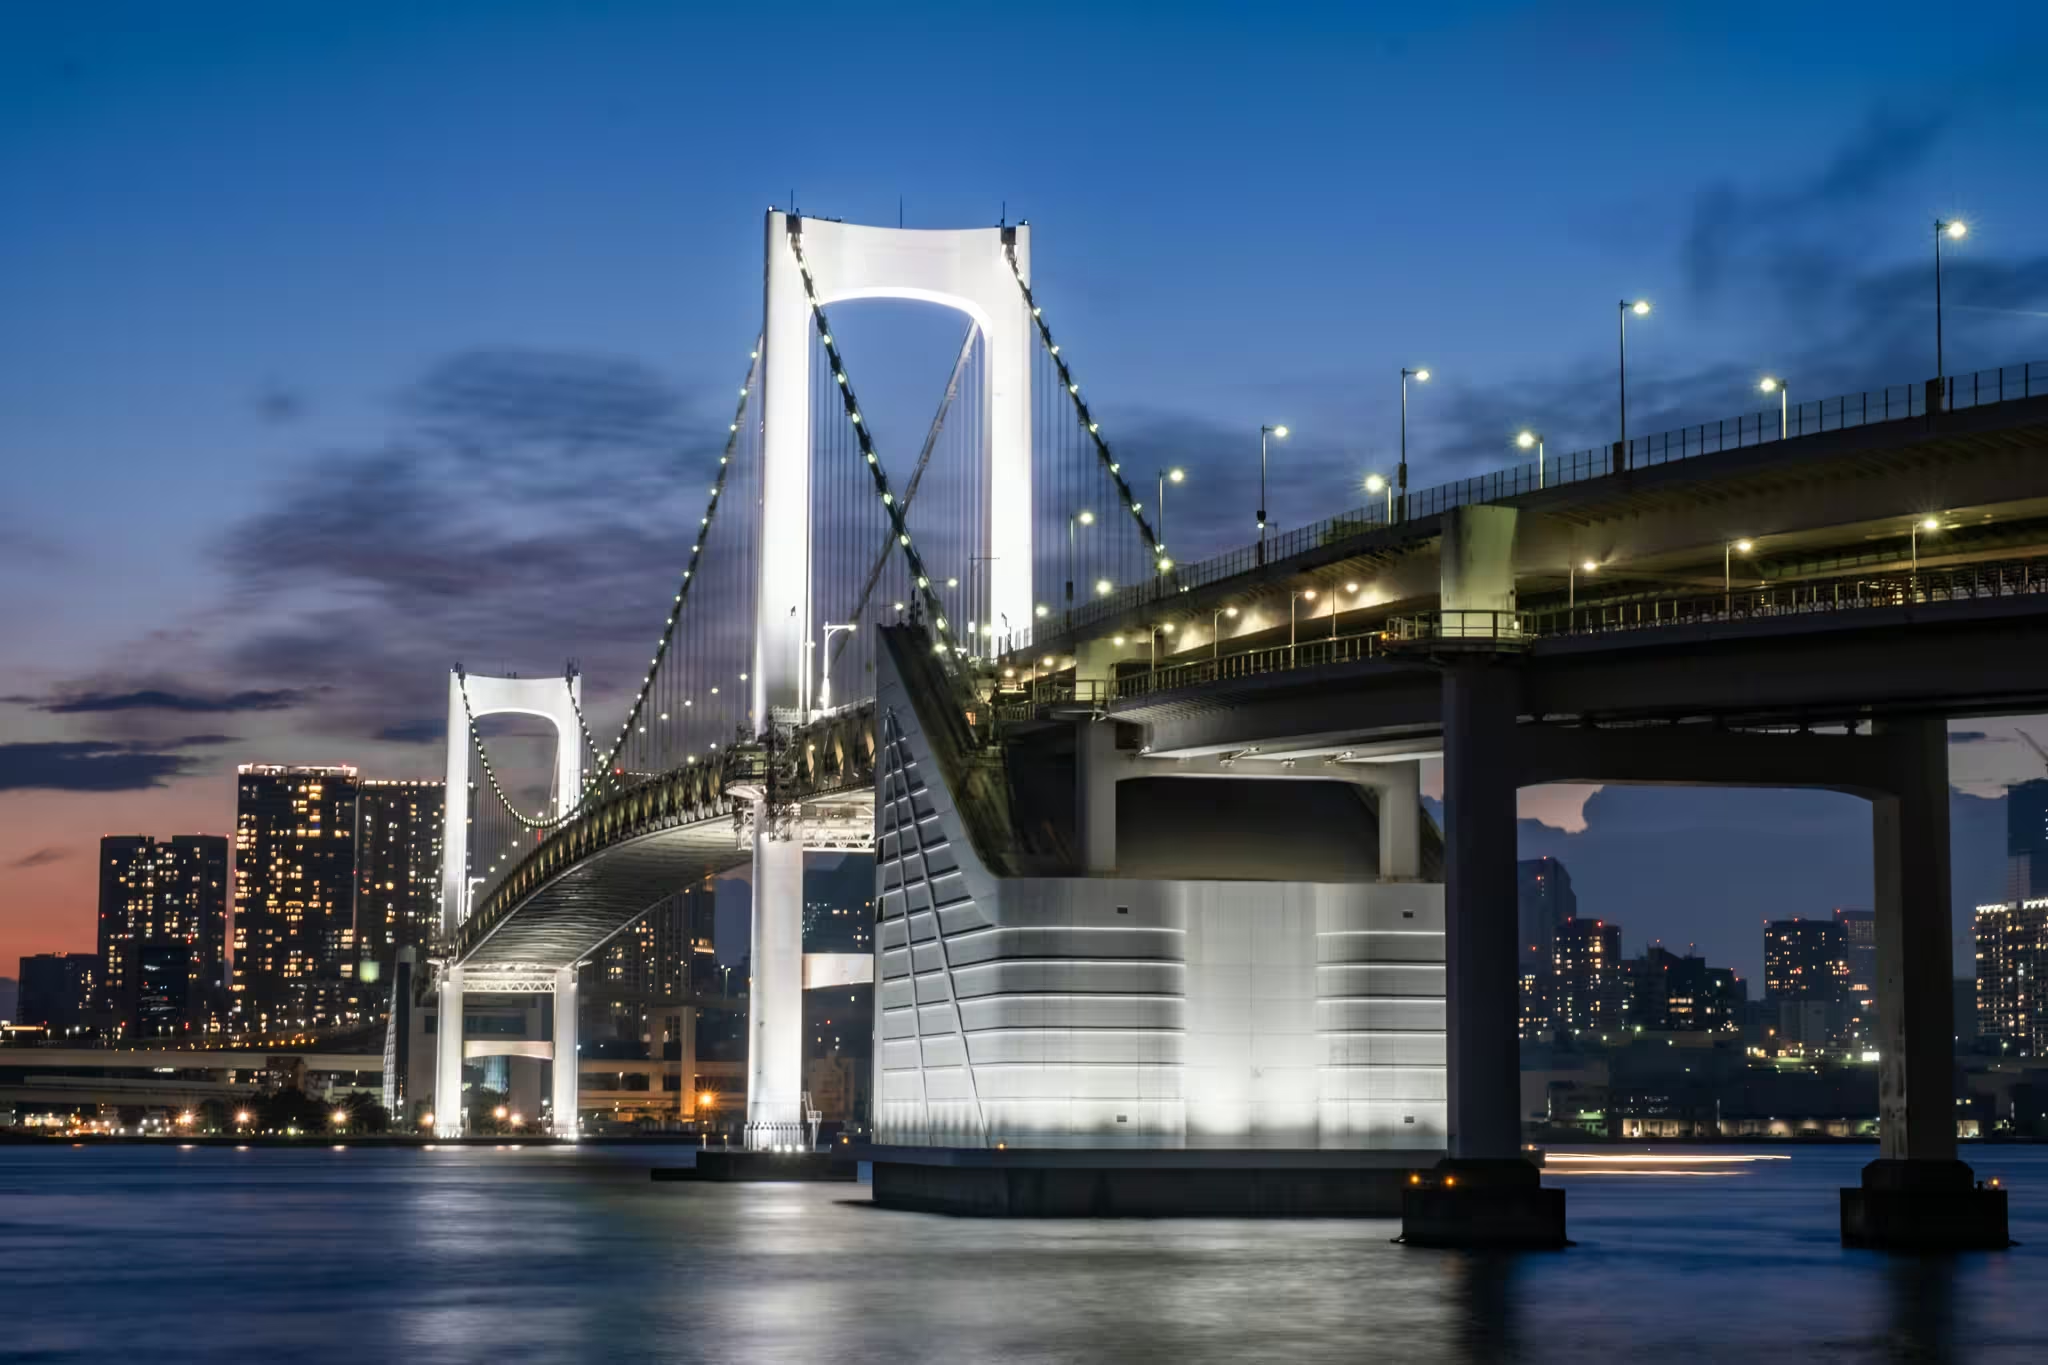
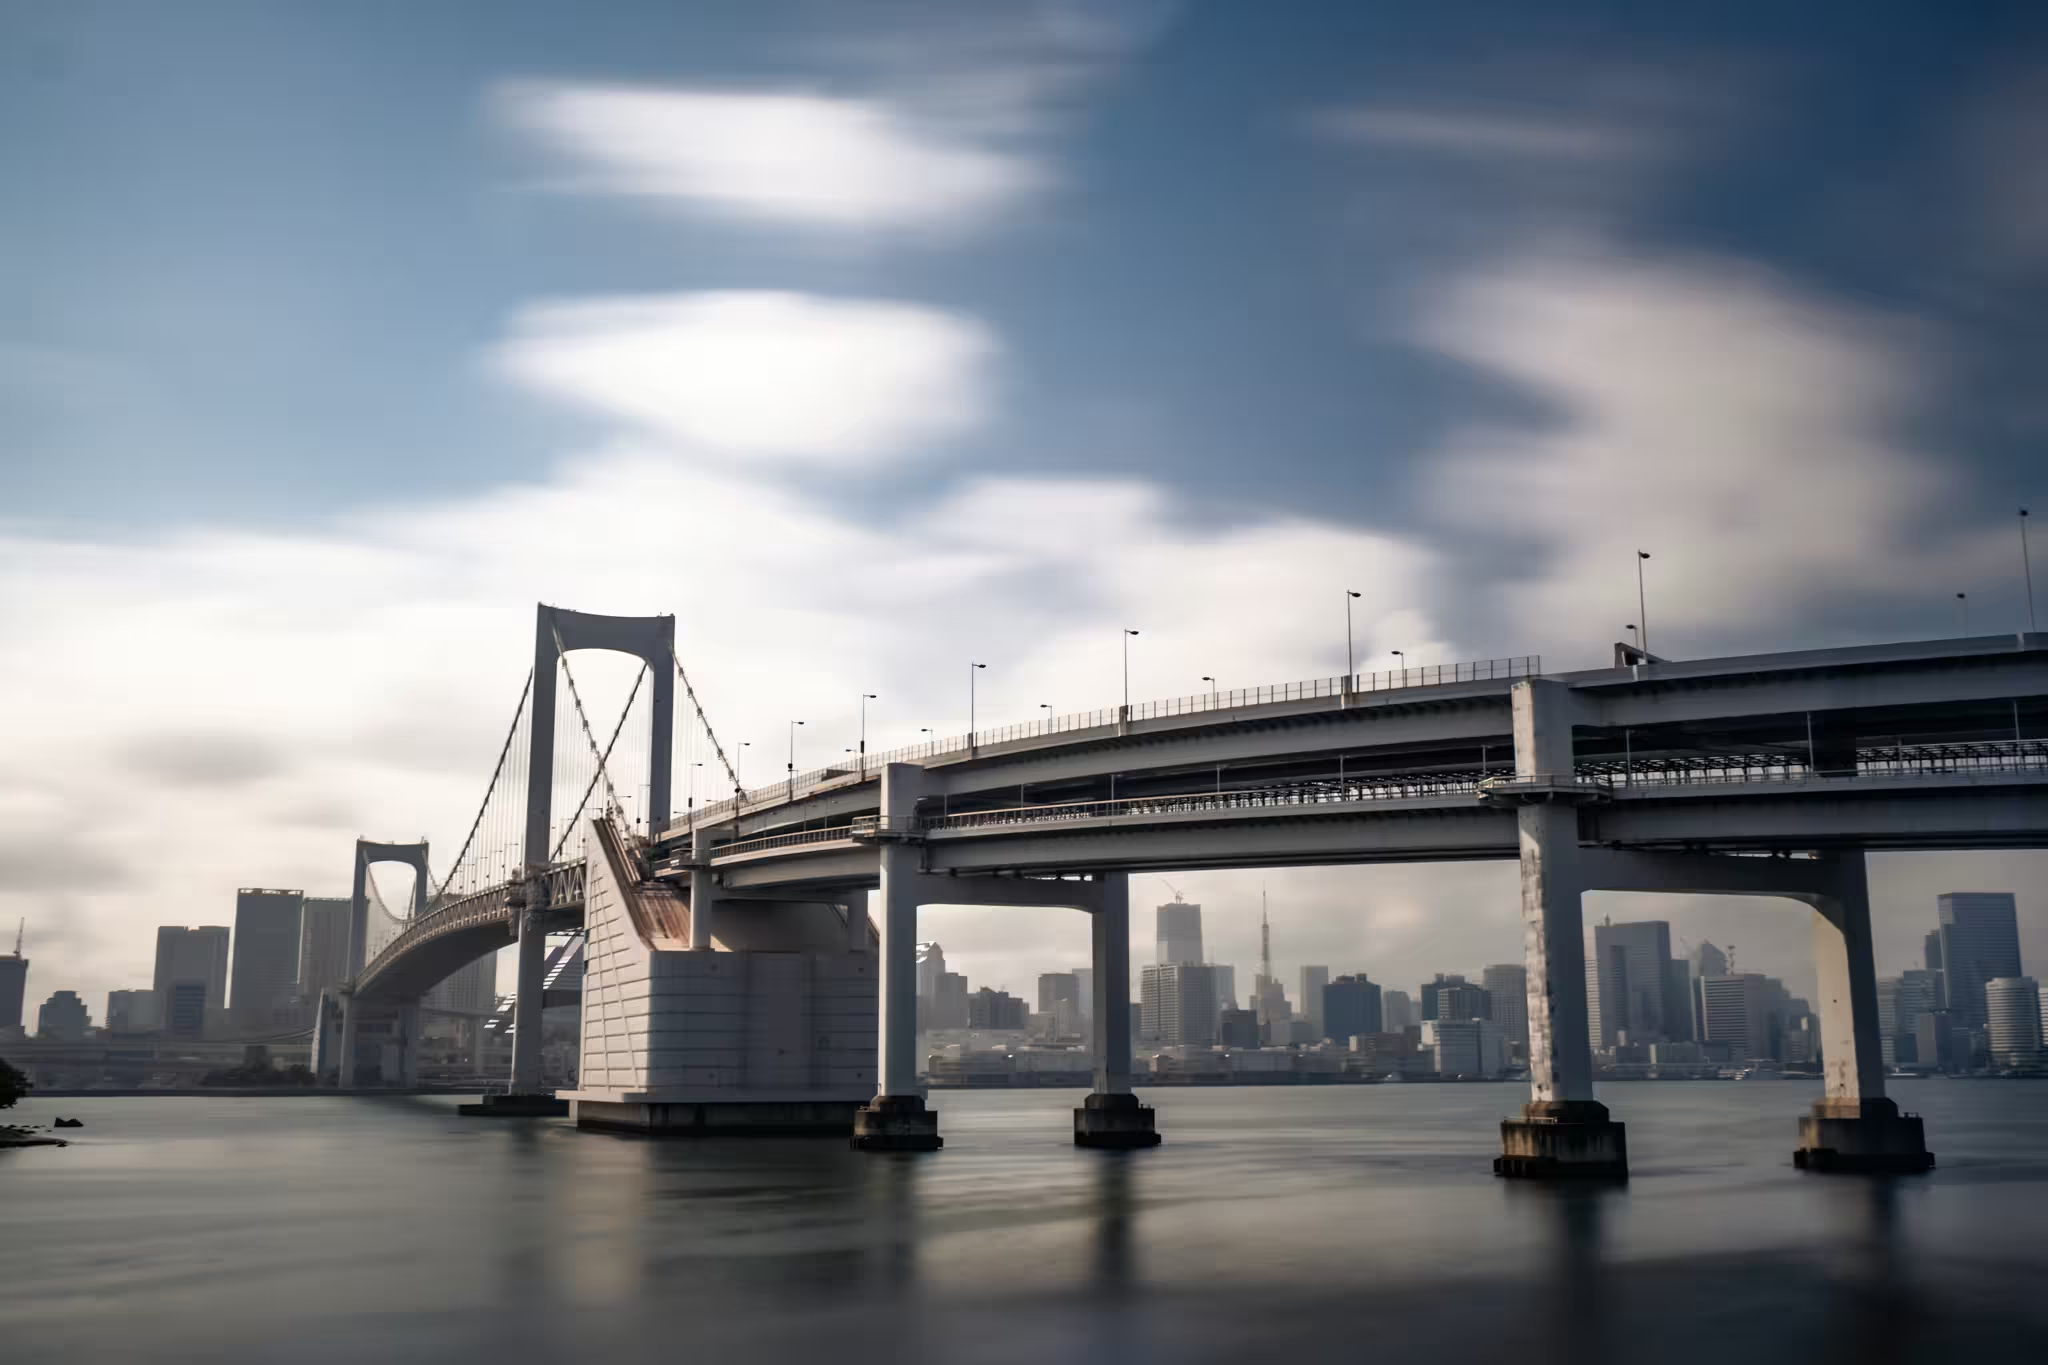
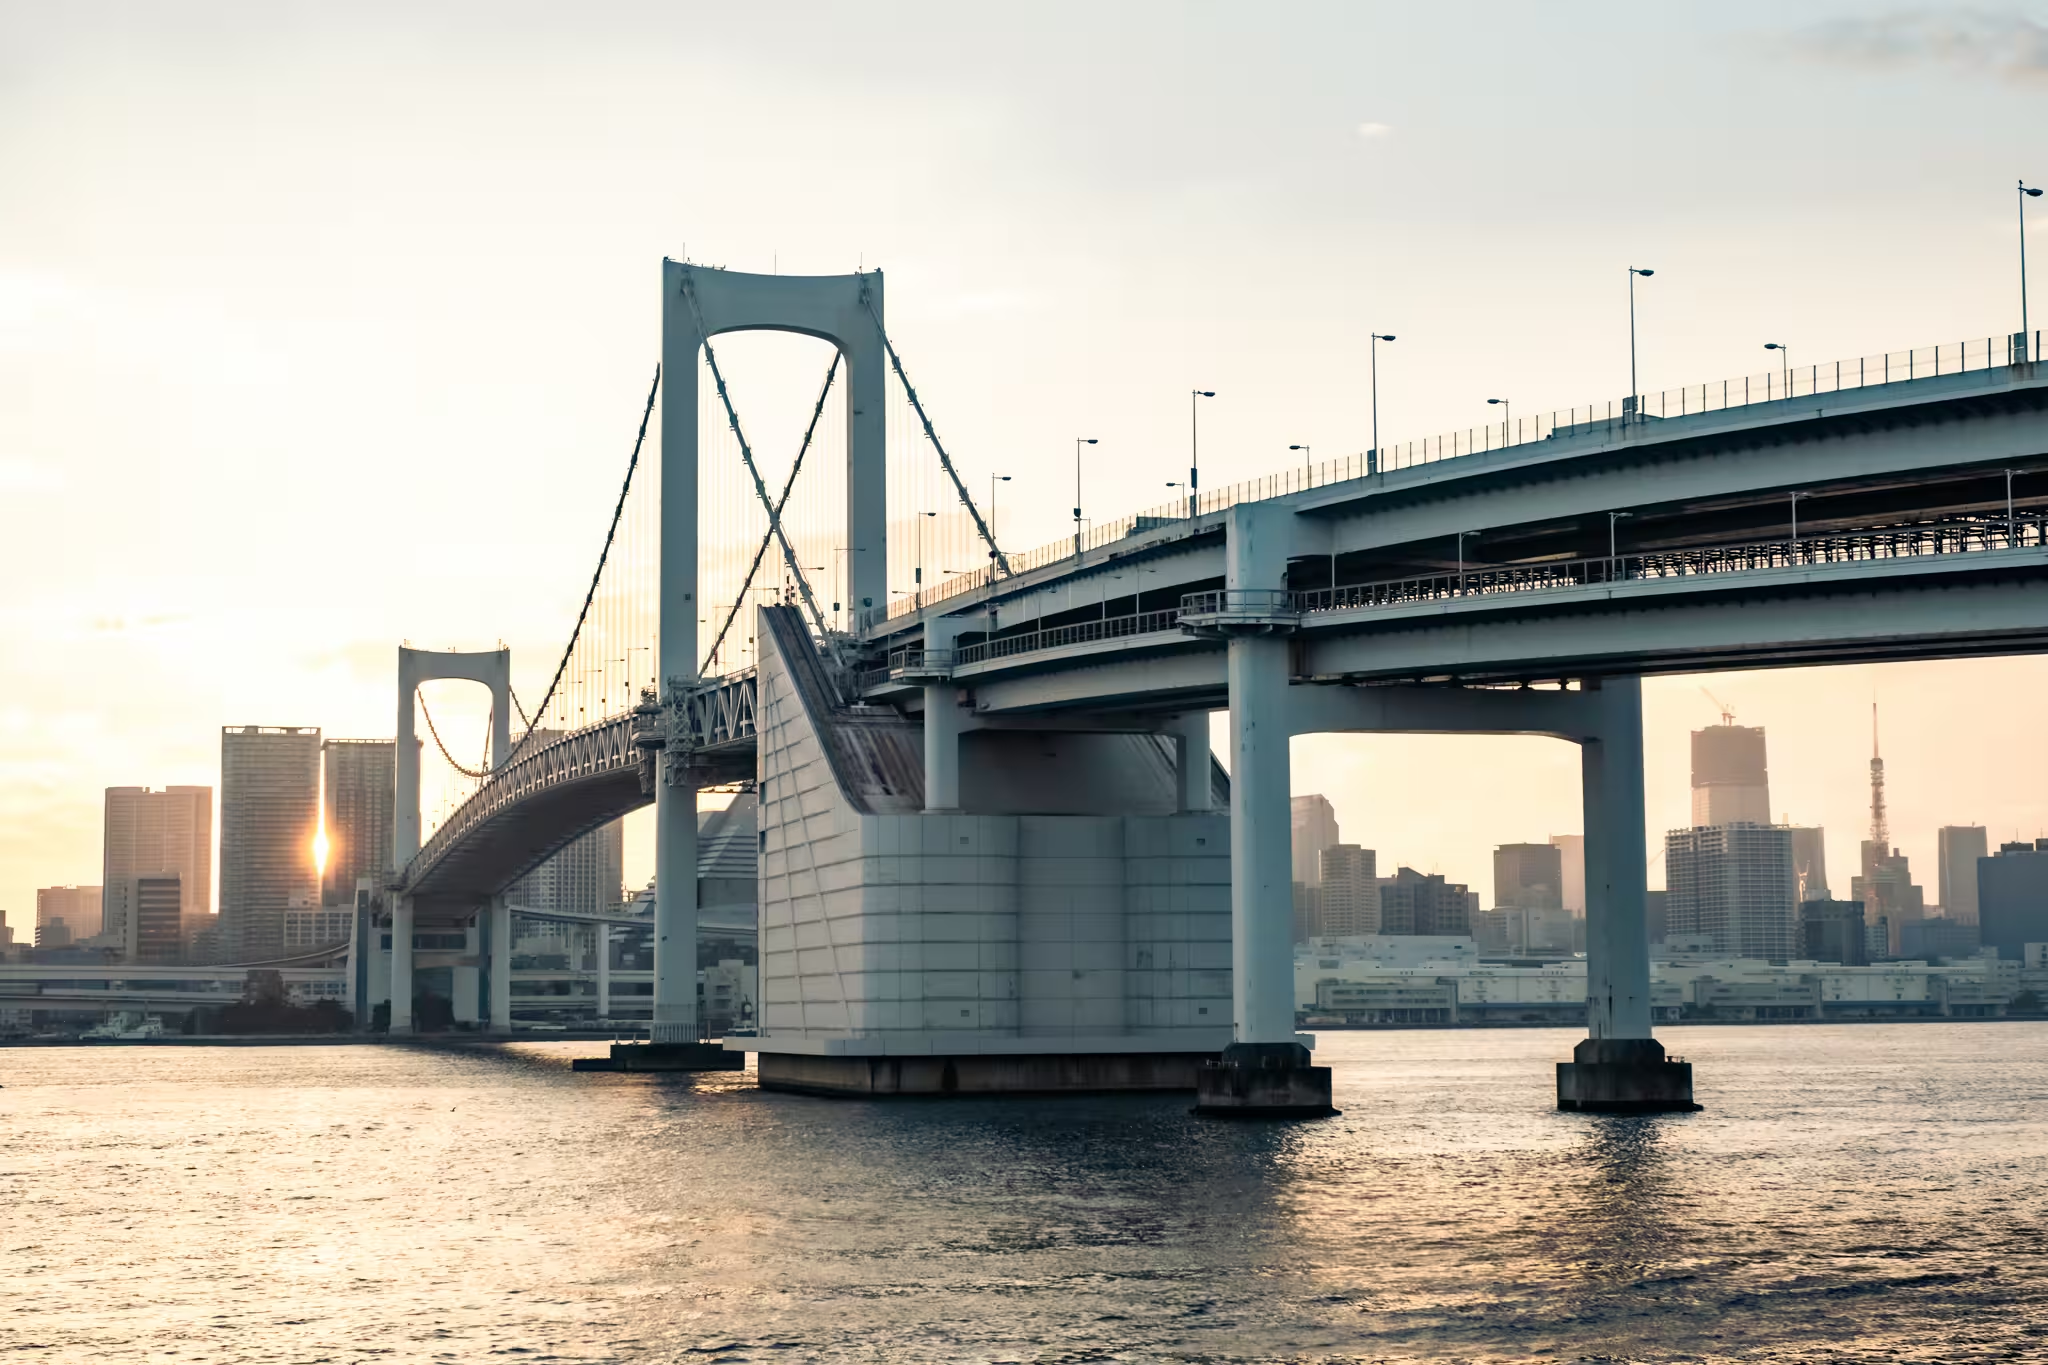
Daiba Park provides what I consider the best view of Rainbow Bridge Tokyo because of its proximity and low angle. From this vantage point, you aren’t looking down on the city; you are roughly level with the water, which changes how the light interacts with your lens.
Beyond the bridge itself, you can observe several secondary subjects:
- Tokyo Tower: Aligned in the distance, it sits framed within the cables of the bridge.
- Shinagawa Wharf: The industrial cranes and lights across the water provide a grounded, geometric background.
- Maritime traffic: Large passenger ships and small water taxis move through the frame, offering opportunities to practice capturing motion.
- The Statue of Liberty replica: Visible just behind the park if you turn your camera toward the beach.
Photography tips: Best time to shoot Rainbow Bridge
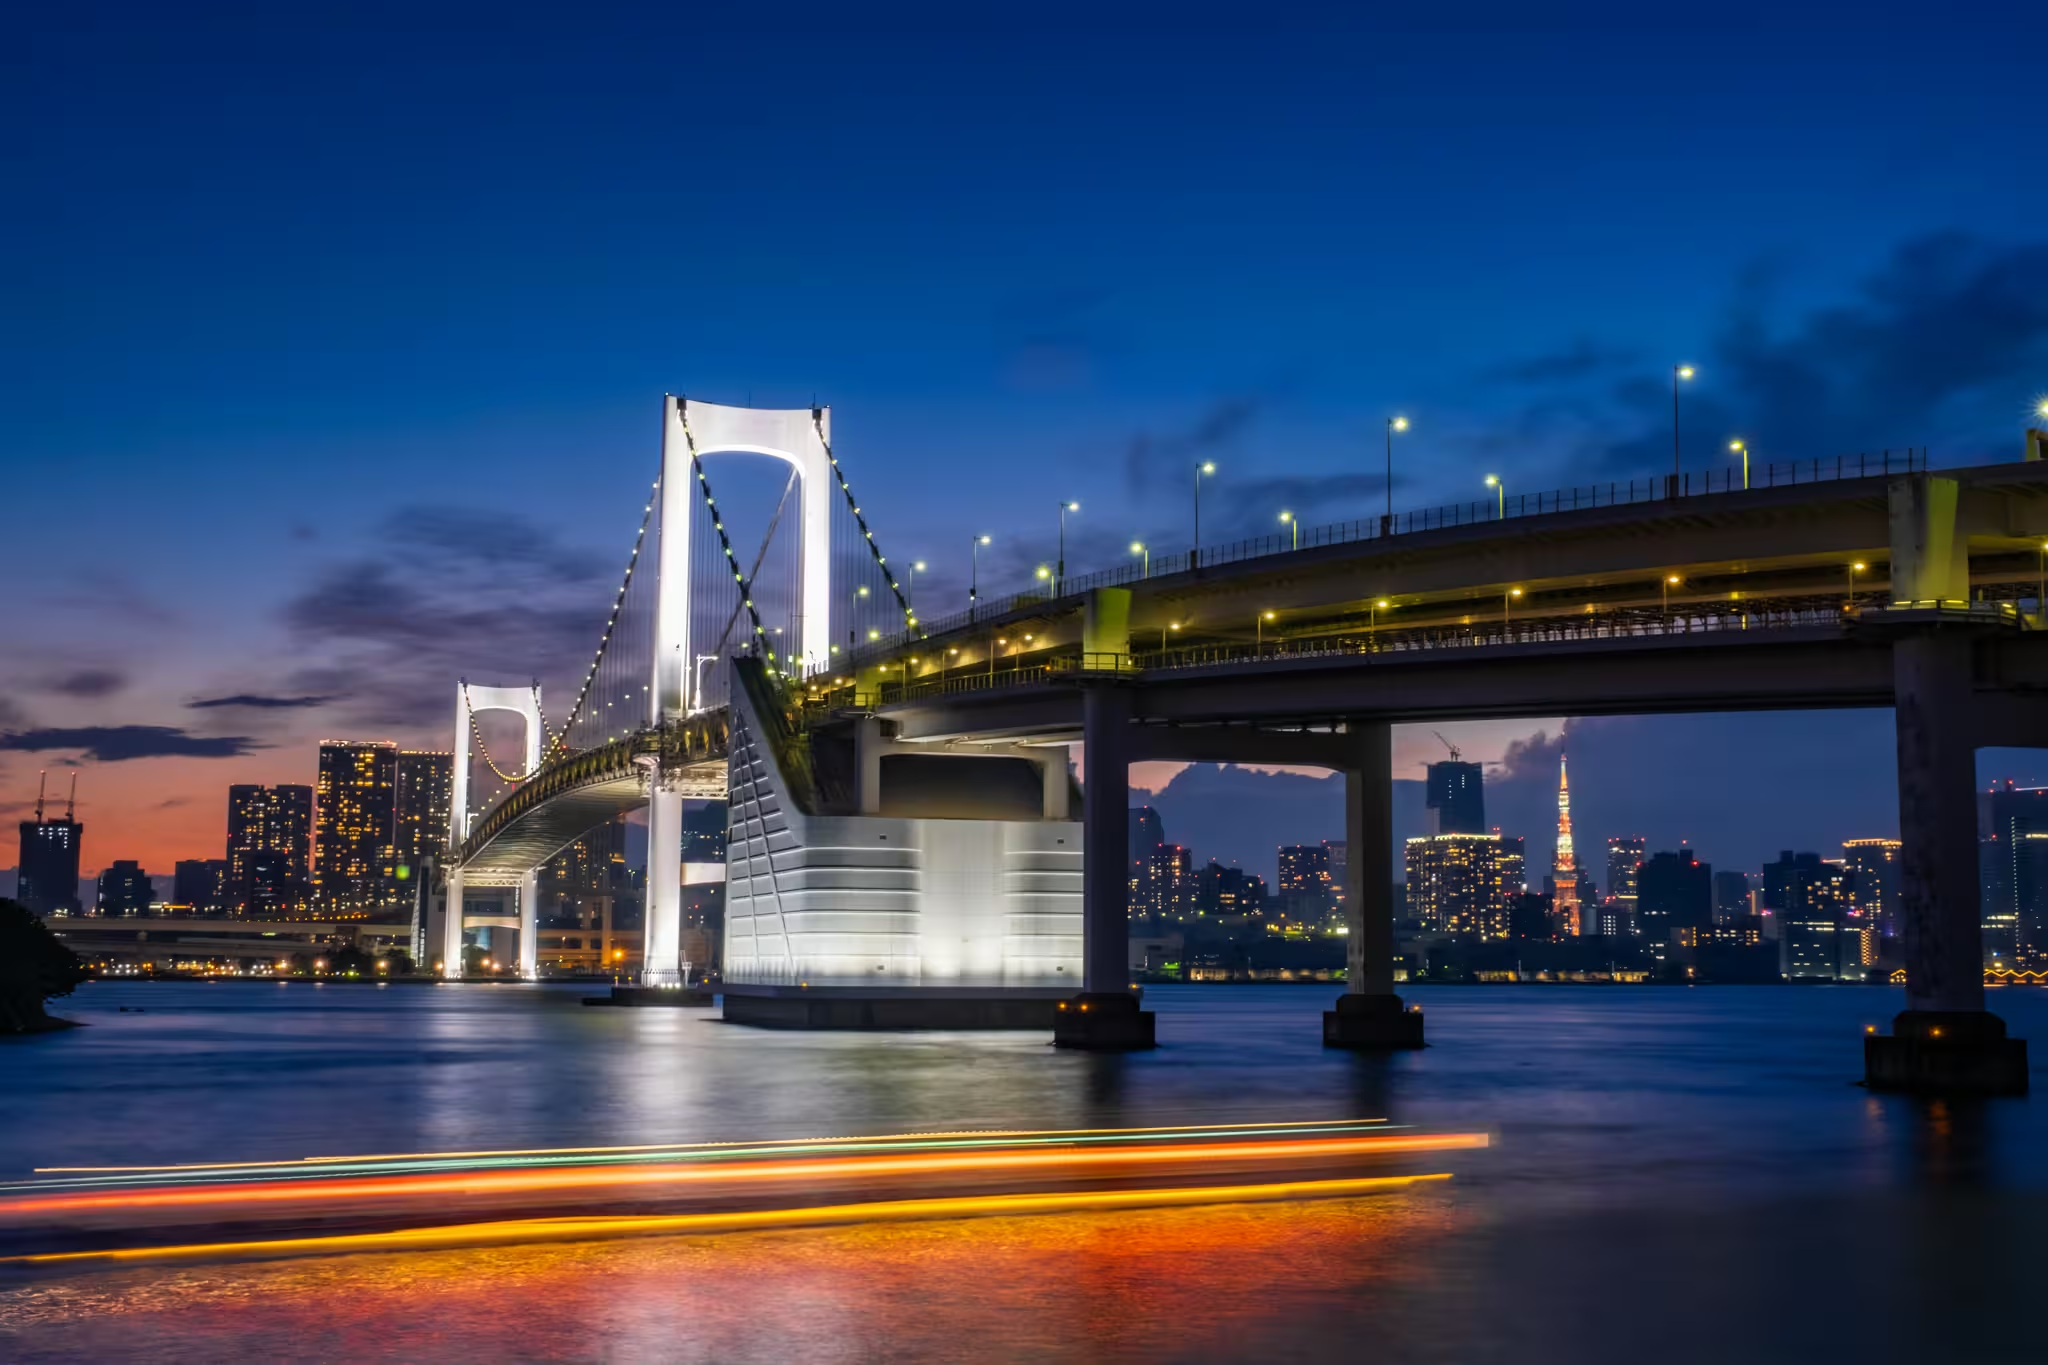
In my experience, the quality of light here changes significantly as the sun crosses the horizon. While the structure is visible all day, the session truly begins during the “blue hour.”
Long-exposure photography in Tokyo
This is an ideal location for long-exposure photography. If you are new to this technique, check out my complete guide. The island is the perfect place to practice it because as the natural light fades, the bridge lights provide a consistent artificial source.
- Gear: I generally use a 16-55mm lens. The island is close enough to the bridge that a long zoom isn’t necessary, and the composition rarely requires an ultra-wide angle.
- Stability: A tripod is essential. The wind coming off the bay can be forceful, so ensuring your setup is weighted or low to the ground is a practical necessity.
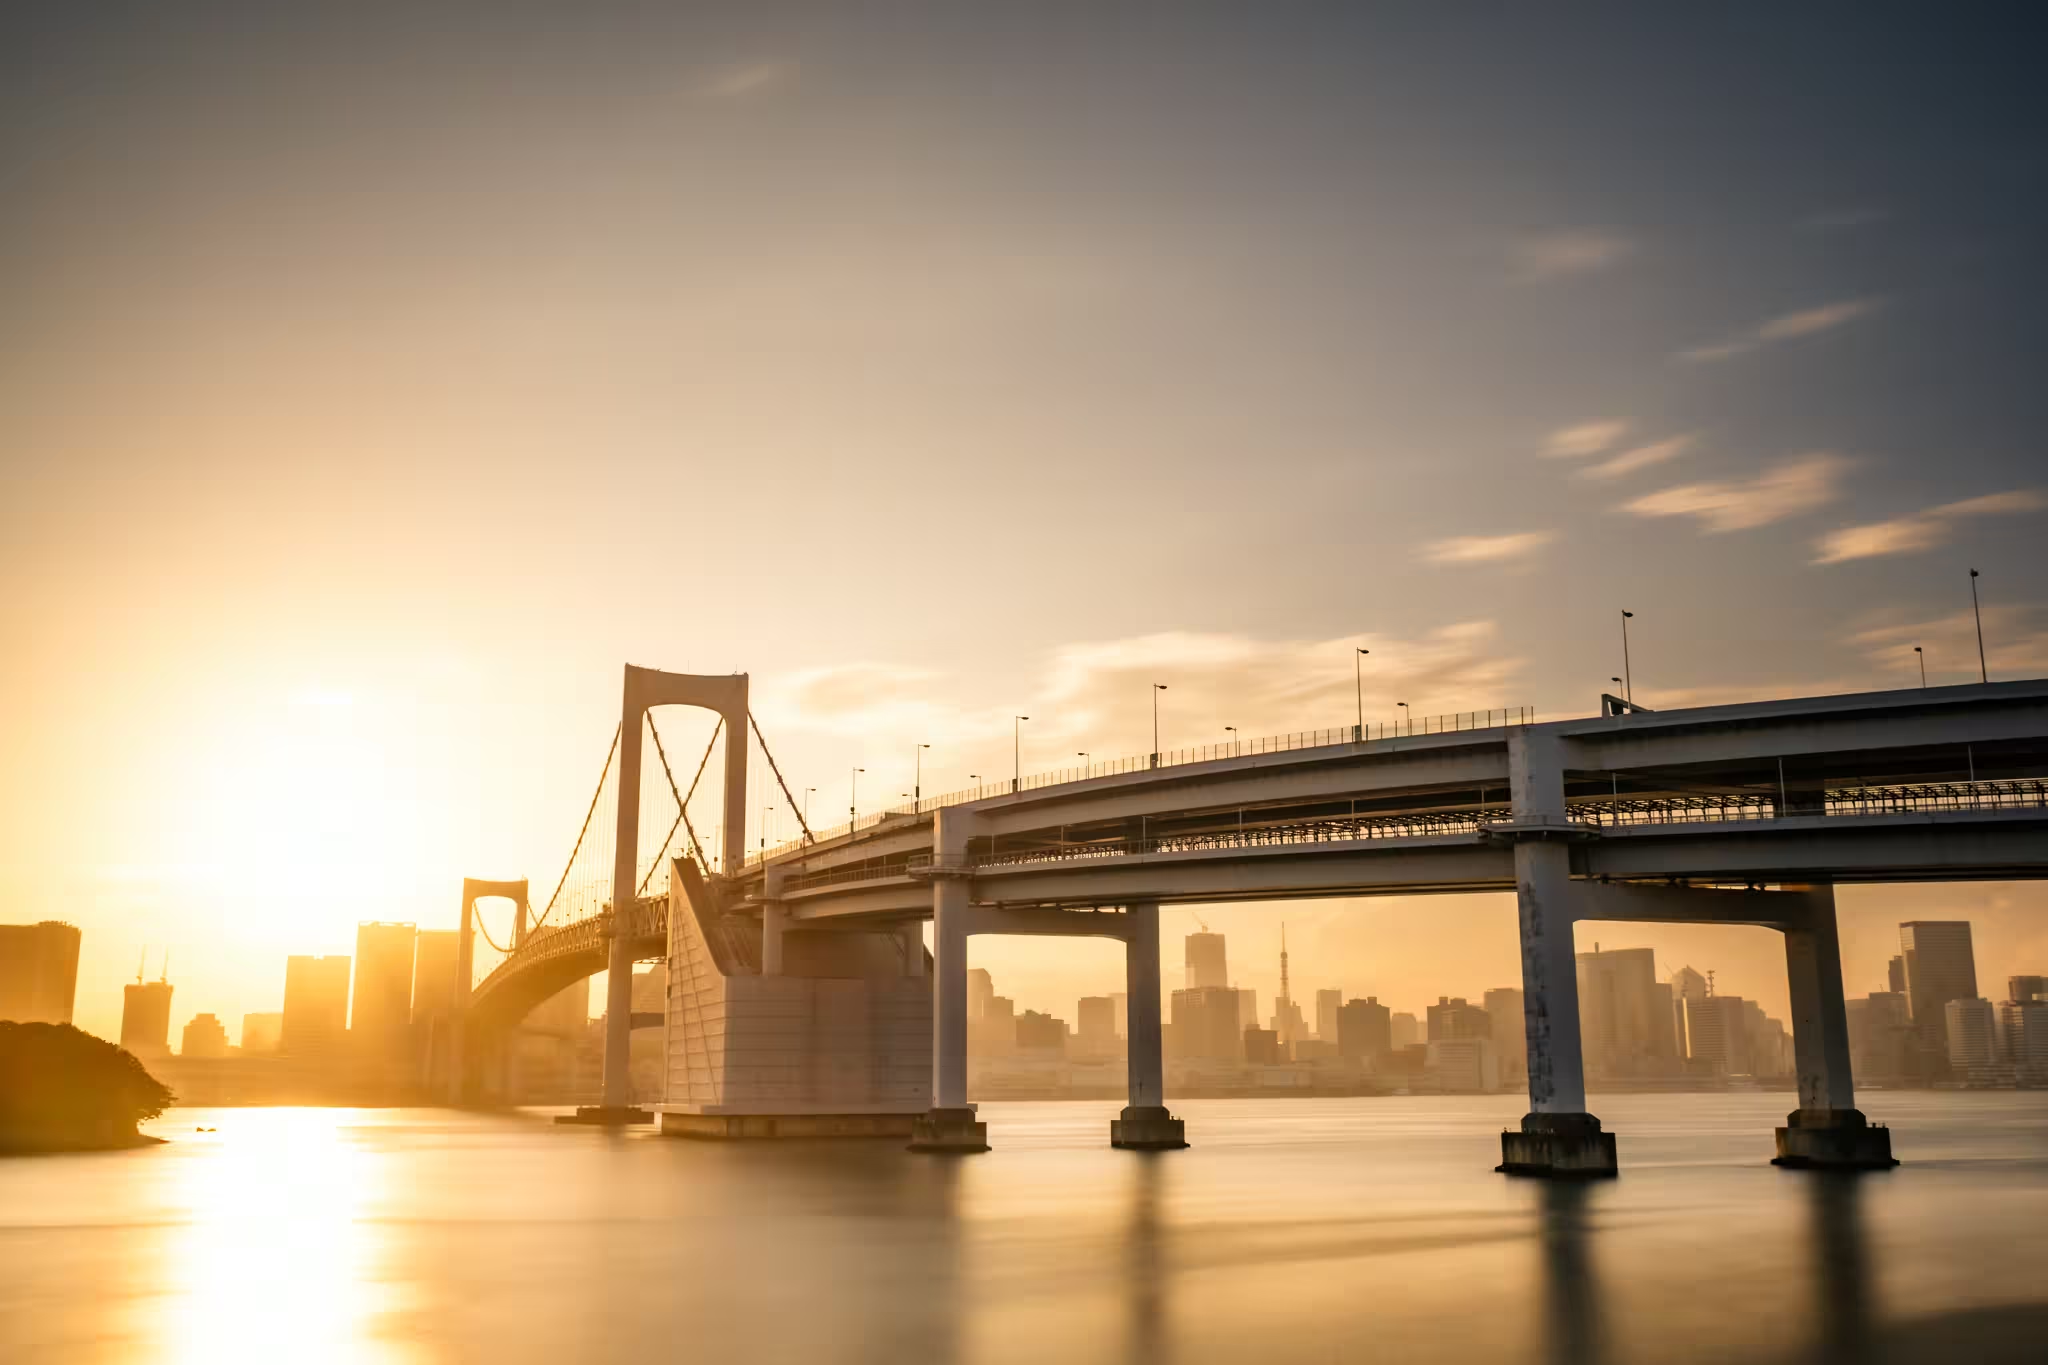
- Solar position: In mid-summer, the sun sets directly behind the bridge. In late winter, it shifts to the left. Checking a sun-tracking app before you arrive will help you plan your alignment.
How to access Daiba Park (and its history)
The park is not just a viewpoint; it is an island with a history of defense. Built by the Shogunate in the 19th century to house cannon batteries, the site still retains its original stone mounts.
Practicalities for your visit
- Access: A fifteen-minute, flat walk from Odaiba-Kaihinkoen Station (Yurikamome line). Note that the path is quite exposed to the wind.
- Environment: The park is free and open 24/7. While safe, the interior is unlit at night, so bring a small torch to navigate the paths.
- Wildlife: During warmer months, watch where you place your tripod; active ant nests and wasps are common in the grass and older trees.
- Weather: Temperatures drop significantly by the water. The wind chill on the battery walls often requires more layers than you would expect for city photography.
Here is the location on Google Maps:
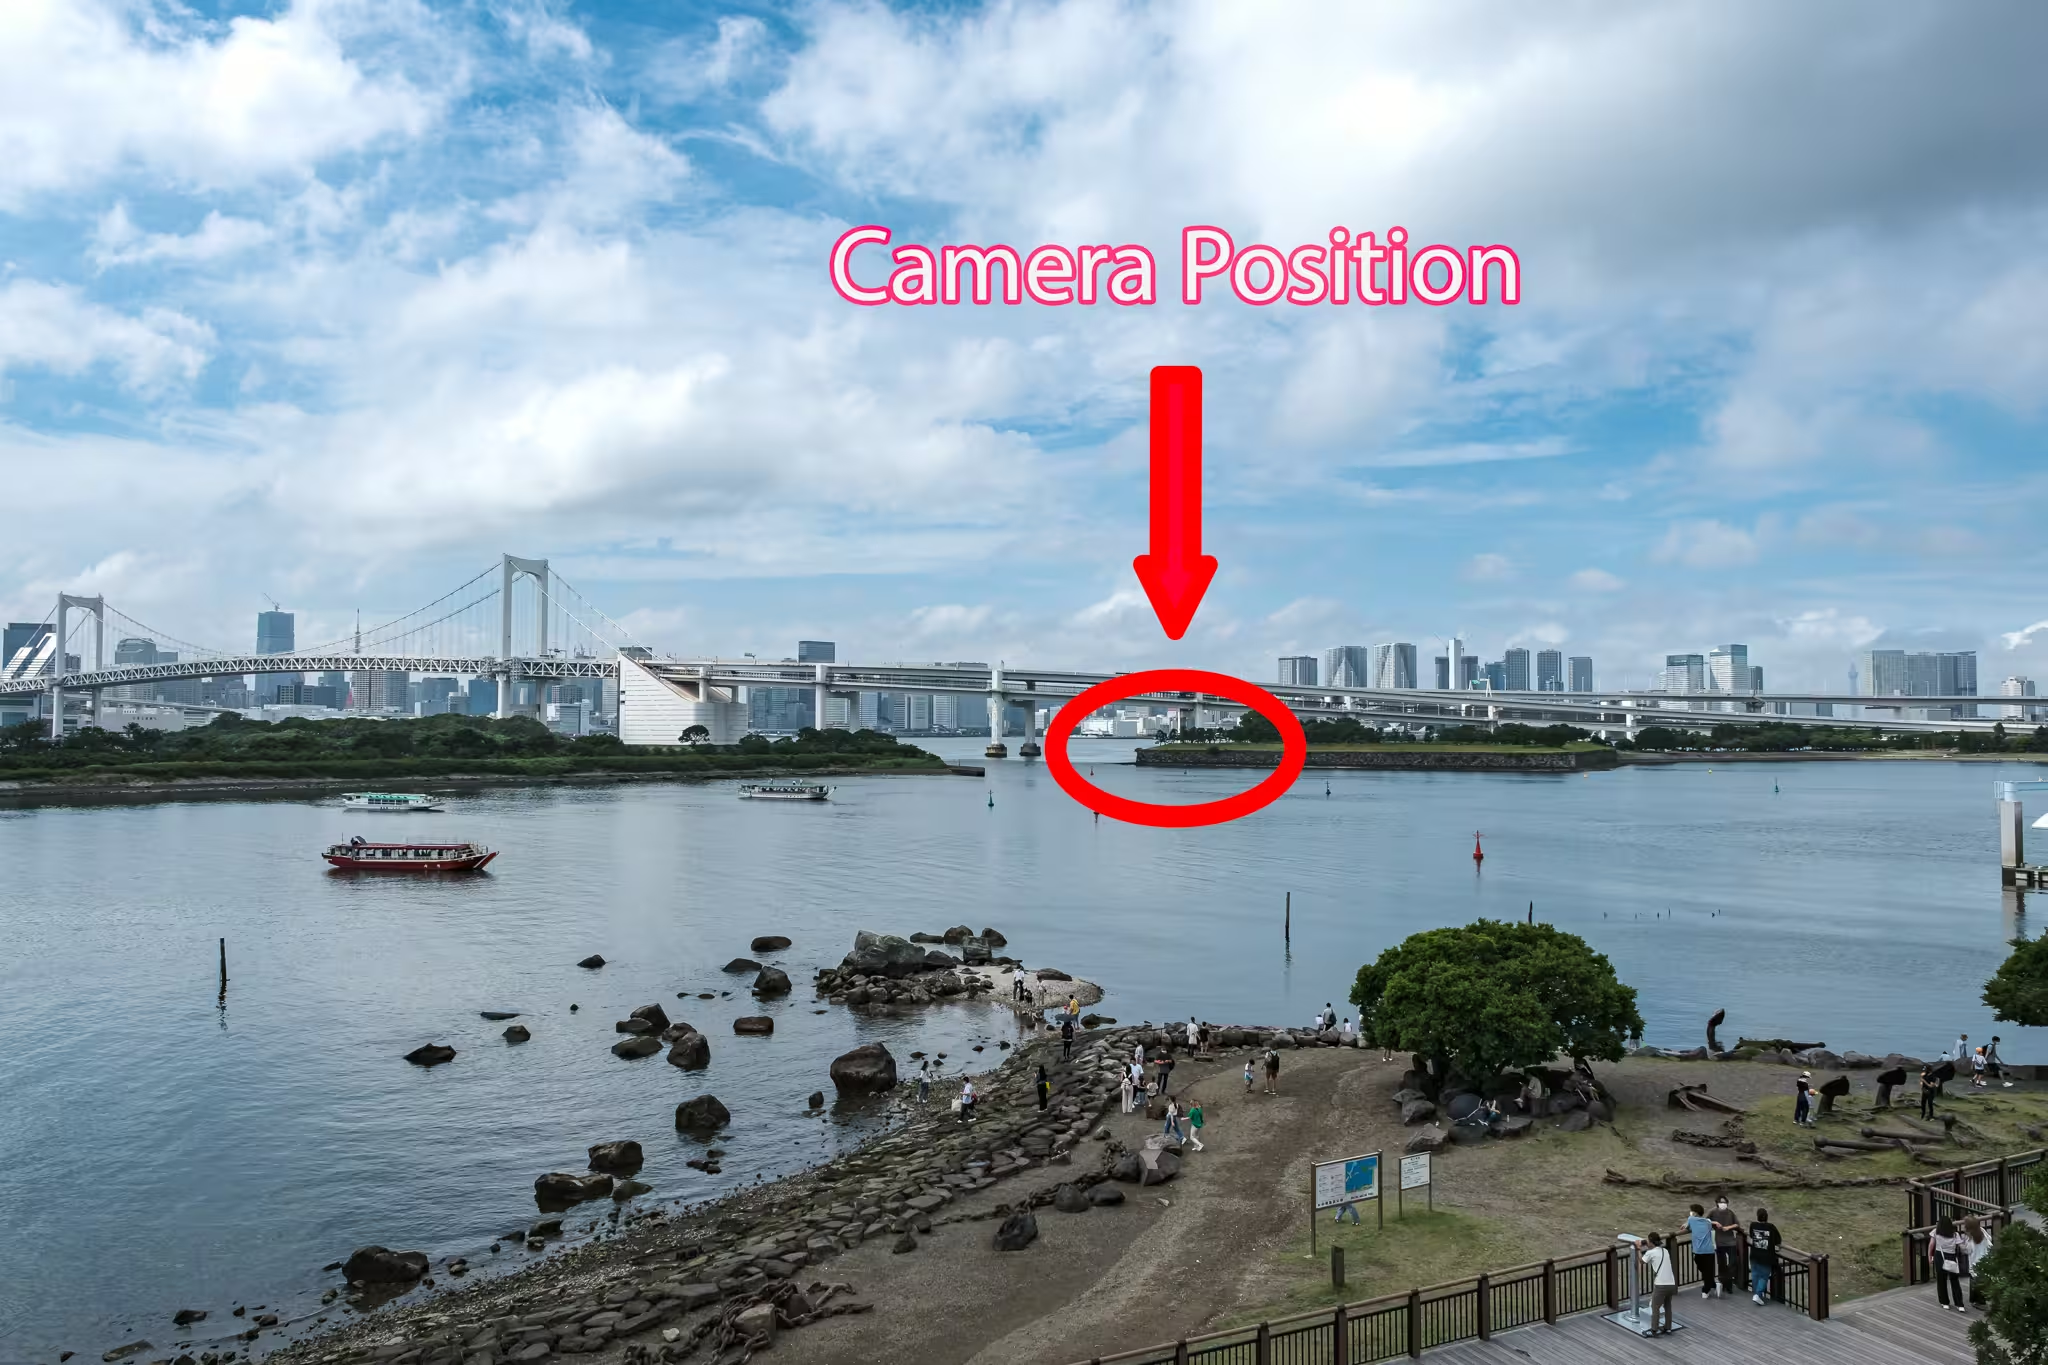
Location shot from Odaiba beach
Read my full article about Rainbow Bridge to learn more about it.
Is Daiba Park worth it?
Daiba Park (official Japanese website) is a location that rewards patience and observation. It’s a little far from the malls, but it offers a peaceful atmosphere to practice long-exposure techniques. The spot provides a clear, unobstructed look at the Rainbow Bridge. By planning for the wind and timing of your shoot, you can walk away with a photo that feels grounded and focused.